A “hot tent” is designed (or modified) to camp in winter with a heat source within… usually a wood burning stove. This is simultaneously practical and hilarious. “I’m going to light a fire inside a fabric structure… what could go wrong?”
This isn’t weekend in August equipment. It’s specialized for harsh conditions. The one I got is particularly stout… at the expense of weight. There will be no backpacking with this tent! The way it was packed and the way it’s designed, I get the idea it could be air dropped onto an ice sheet on Baffin Island and serve very well right out of the box. Polar Bear hunting anyone?
Camping is all about trade offs. With cold weather camping it’s even more important. Going light or cheap comes with a price in comfort and safety. There’s a difference between “survive” and “thrive” and my idea is to thrive. Any dipshit can shiver in a mummy bag in a snowdrift… I’ve done it myself. It was fun at the time but I’m over that now. (What the hell was I thinking?)
Hot tents can be expensive. (There are ways to avoid this if you’re tough and clever. If you’re a stud who can winter camp on the cheap, more power too you. Toss a tarp over a taut line, nestle into a pile of pine boughs, and have at it.) For the rest of us, hot tents are spendy. Everything has to be made tougher and by their nature they’re complex.
There’s a skillset required too. A basic summer tent is pretty obvious. Even dipshit half drunk weekend warriors will figure it out. With a hot tent you can fuck up and burn it down. Plus of course you’re using it in conditions that are, if not unsafe, at least merit careful attention. I plan to test mine thoroughly before I overnight on a lake or mountain and get in over my head. In a way, I’m training myself more than testing the tent.
I’m still new at this. Early this winter I made the terrifyingly expensive purchase of a Russian Bear Market UP2. As tents go, it’s an odd duck. They’re very well designed but nothing like any tents I’ve used. When I bought it (and recovered from the heart attack at the cost), I mumbled something about my motivations (links: 1, 2, 3, 4). I also linked to the make and model on Amazon (hot tent and stove). (Note: the links go to Amazon. If you buy anything from those links it costs you nothing extra and I get a small kickback from Amazon. I don’t care if you buy one but at least you can see the details if you want to follow along with my new adventure. It says they’re in stock but I don’t know if that’s true.)
Warning: The Russian Bear UP2 comes from Russia. The supply chain for these tents is or may be severed. It’s the crashing of civilization so of course politics infects everything, including tent companies. My tent was made in Russia, stored briefly in the continental US, and shipped to me from the East Coast. YMMV. Back in the long forgotten time of last November there were reports of multi week delays, especially for Canadian purchaser. The tents had gotten popular (as popular as a ridiculously overbuilt winter tent can get) and demand was high. Now, it’s five more months of stupidity and nothing has improved efficiency or reason in the world’s economy. Who knows what’s going on?
Here’s my warning. If you want one, order it yesterday. There are many hot tents but the Russian Bear Market UP2 is unique. It’s one of a kind. You may never have this chance again. You may have already lost the chance.
If you don’t want this particular critter, don’t sweat it. There will always be hot tents. A few are even made in America. There’s one brand from Alaska that’s just as expensive and well recommended, though totally different in design.
Field report:
Last year, I did a quick test campout (in what turned out to be a brutal blizzard!). I posted pics here. Last weekend I made another go at it. I’m including details that may or may not interest you.
The carry bag is pure toughness. It’s just the right size, not like some camping gear where it takes huge effort to get stuff back into the bag after you’ve used it. (I’m looking at you REI!)
It appears waterproof but with a zipper that’s probably just water resistant. Did I mention it’s tough? I wouldn’t hesitate to toss it in the back of a truck.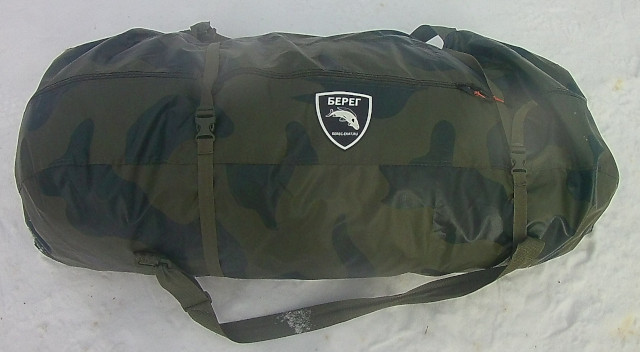
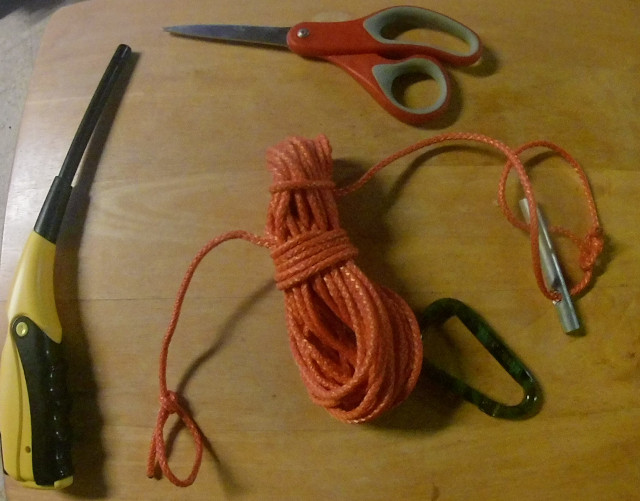
The tent comes with roughly six million yards of guyline. It was overwhelming. To manage them, I carefully sorted everything out. The lines are much longer than they need to be but everyone says not to cut them. In keeping with Chesterton’s Fence I’m keeping them full length.
Unlike some tents, the UP2 has oodles of anchor points. So many that you’ll probably never use them all. On most tents you just leave guylines hooked to the tent, but that’s weird in the self supporting UP2 because the anchor points are both optional and literally everywhere.
My idea was to buy many cheap light carabiners. This allows me to string the line to wherever I want and just clip on to the nearest tent anchor point with a carabiner. No knots at the tent side! It worked very well.
The tent came with a bunch of three hole aluminum “tensioners”. They’re beefy but I’m never sure how the three hole tensioners work. It seems a bit overboard and I might retie them as two hole tensioners.
I had “too many” carabiners so I made extra guylines. The lines of lighter color p-cord are ones I made myself.
This isn’t the whole set. There are more. You can see why I needed to sort them. If they were all in one tangle I’d waste forever each time I setup the tent. If you’re camping and need extra line, a UP2 has enough paracord to rig a schooner.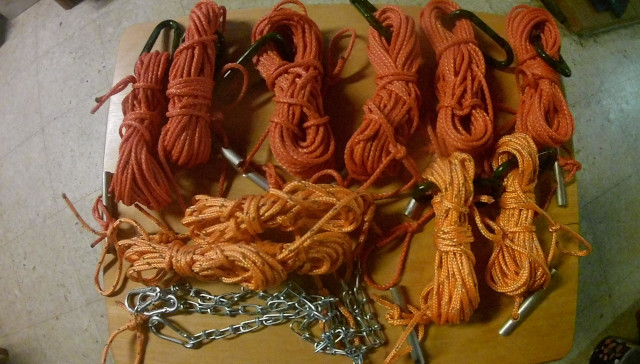
I built three homemade guylines for the chimney. On these, I added about a foot of light chain. The idea was that I could anchor to the 3 points on the top of the chimney and tie them down. (P-cord alone might melt.)
I put a key ring on each of the three anchor points on the chimney. Small metal carabiners hook to the rings. Getting the rings installed was a hassle but the carabiners wouldn’t work without them. This is all optional. The chimney is fine as self supporting but in the (admittedly brutal) blizzard last year I felt the chimney flex a little in the wind.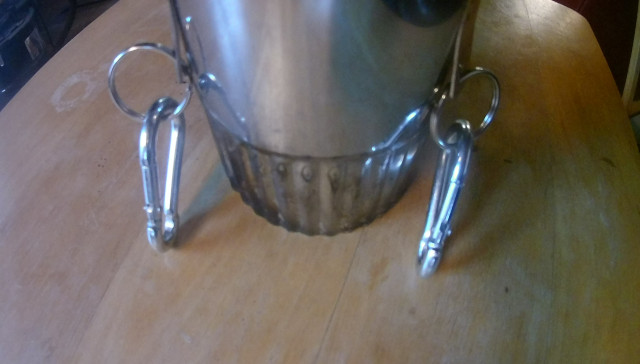
Here’s the set of three chimney guylines tossed on the snow.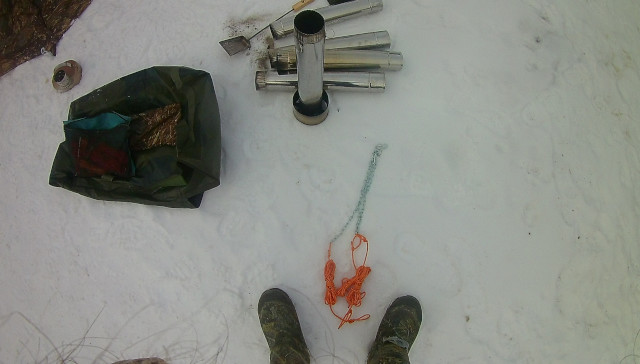 You can’t see the a third guyline in the back but trust me, it’s there. With three anchor points, the chimney is rock solid. Don’t overtighten. It’s hard to resist the urge to torque it down like a ship’s mast. All you need is a few pounds of pressure. It was solid as cement when anchored like this. In case you’re wondering, that cap on the chimney is a spark arrester. I’ve never yet seen a spark come out of this chimney.
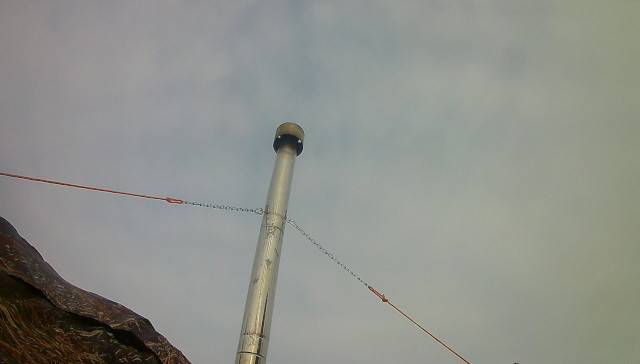
Here’s a photo taken at night. The UFO on the left is a pole light. This was just a test, not a wilderness expedition. In case you’re wondering, the pipe gets hot… don’t touch it. But I didn’t have it glowing or anything crazy like that. 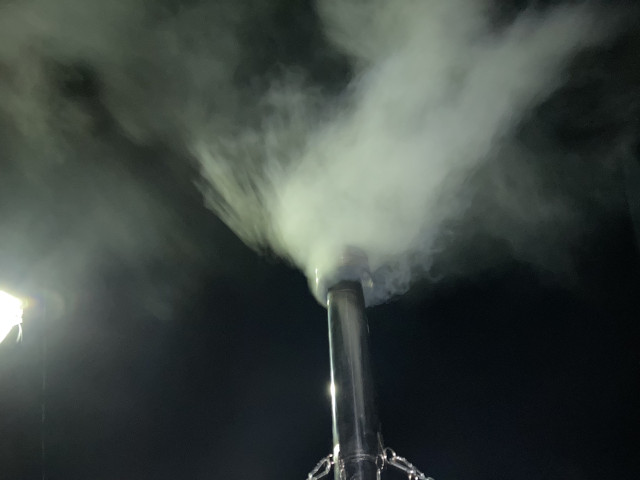
The tent is self supporting but I like to anchor it solid. If a blizzard kicks in I intend to be smug instead of panicked.
Anchoring to the ground is an issue when it’s frozen. The tent comes with a huge pile of very beefy stakes that look like mini-rebar. They’re rugged, but I couldn’t hammer them into the ice.
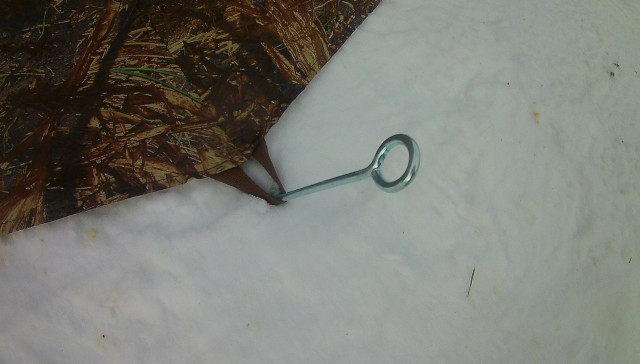
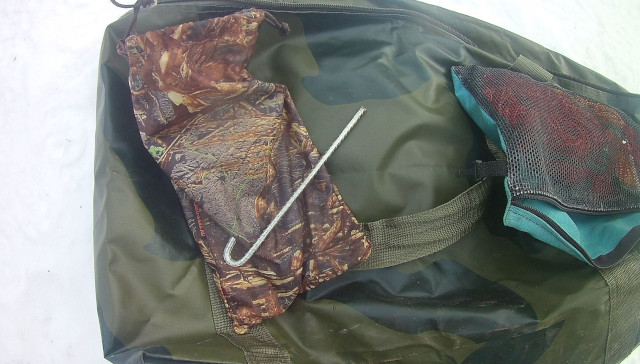 A subset of stakes have a loop on top and coarse beefy threads. They work slicker than snot! I hand spun them right into rock solid ice. Once the thread bit they pulled themselves in. I couldn’t have done better with Sackrete and a post hole auger! I’m sure I could anchor on glare ice if needed. Very cool!
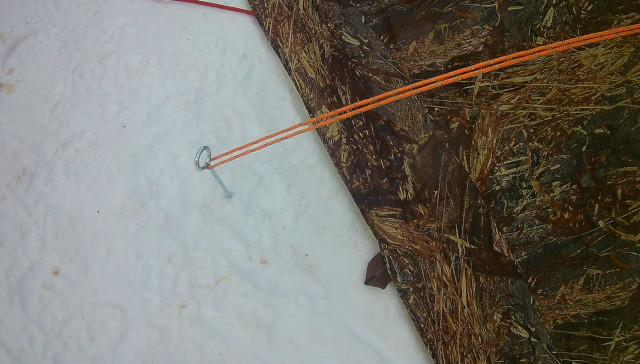
The place where a stovepipe goes through a hot tent is called a “stove jack”. It’s a key piece of the puzzle. This flap covers the stove jack for times when you don’t want a pipe going through your roof. 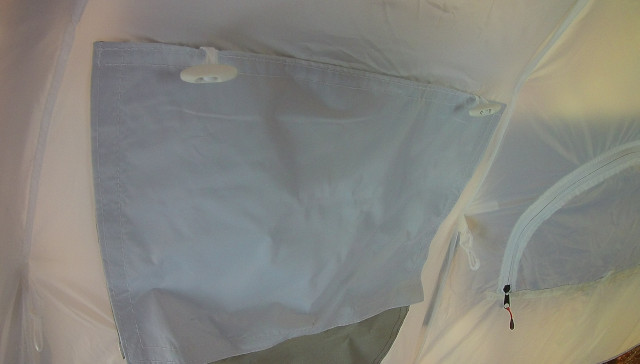
The flap is made of flame resistant material. It reminds me of welder’s fabric. On the wall, all the way from the stove jack to the floor is a layer of the flame resistant stuff. It’s removable but I leave it in there all the time. The stove (not the tent) comes with another piece of flame resistant stuff which I put here on the snow.
A note about floors. The tent comes with a nice high quality zip in floor. There are pros and cons to floors in a warm tent setup on snow. This time I zipped out the floor and tried a cheap tarp. It looked stupid but worked fine.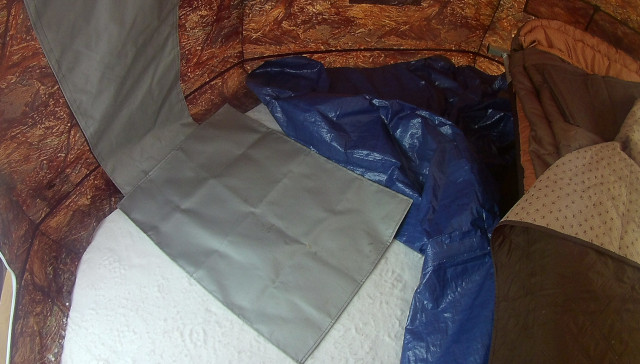
The stove jack has a metal ring. It fits the stove pipe precisely. This isn’t coincidence, I bought the stove to match the tent. 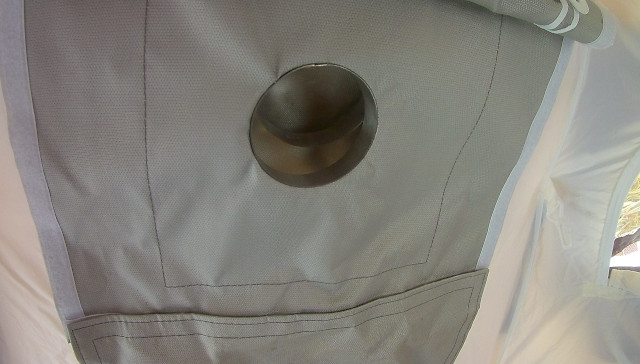
The UP2 is a two layered tent. That trapped layer of air serves as insulation and it seems to do a very good job.
Each layer gets it’s own stove jack. There’s one stove jack with metal ring on the outer layer and a second one on the inner layer. Both are isolated with flame resistant material.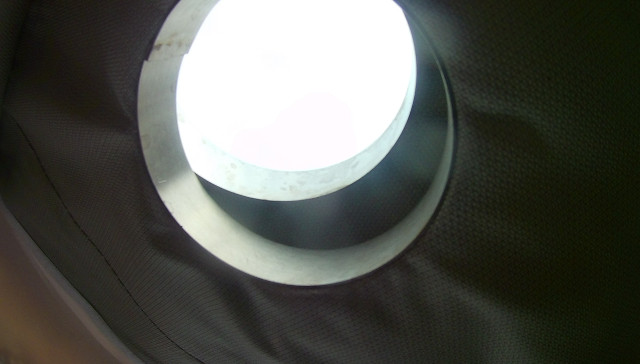
This is the outside stove jack with its flap rolled up. Notice that the flap and everything in the vicinity is that silvery flame resistant material. One note, you have to be pretty tall to roll up the outer flap after the tent is setup. It’s a lot easier to roll it up before erecting the tent. That’s why we test things y’all!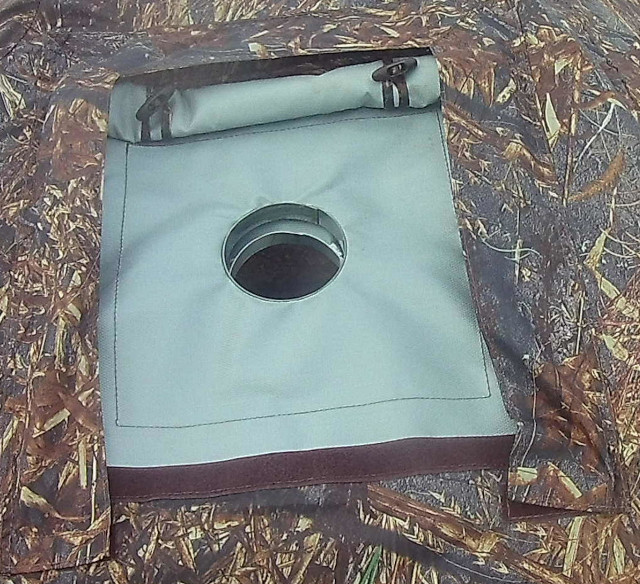
This is the outside of the stove jack when it’s all sealed up. You can see that this thing seals up pretty dang weather tight.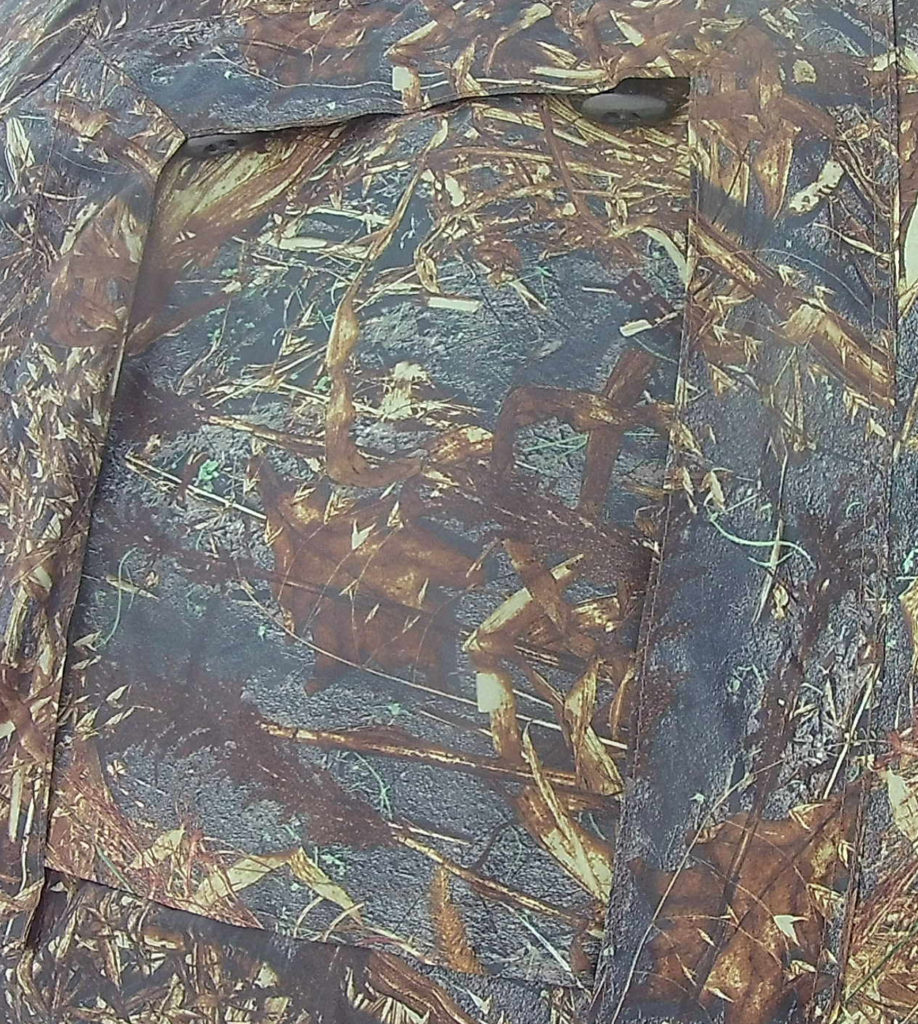
Down low there’s a small air intake vent. Open that so the stove has steady fresh air. It props open with a little stick. Don’t let the photo fool you, it’s small; about the size of a CD case. 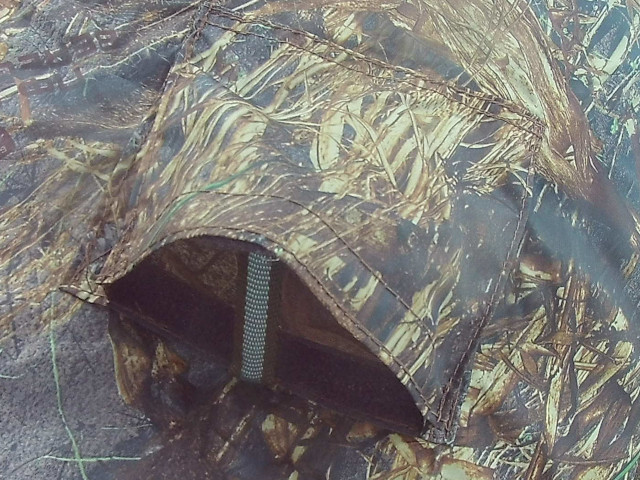
Here’s the vent on the inside. It has netting to keep critters out. Notice the flame resistant material on the right.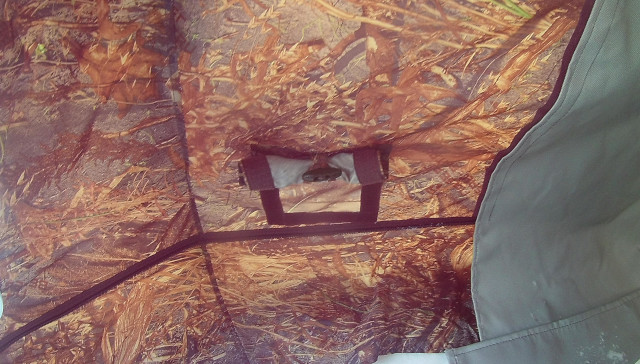
It doesn’t show up well because it’s in a camouflage netting pocket but the stove comes with a nice little smoke detector (CO2 detector?). I had to replace the Russian battery but I tested it and the detector works great. 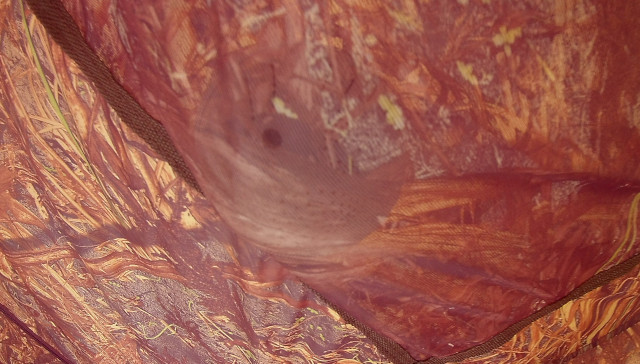
Speaking of camouflage pockets, pockets are sewed into most of the walls. They’re very handy but, since they’re made of camouflage netting, it’s easy to lose stuff in there. This also shows my Teton XXL cot with my Teton XXL mattress and 0 degree Teton bag. Those three things together are more comfortable than most normal beds I’ve slept in.
The XXL cot does take up a lot of the tent, going smaller might be wise if you don’t already have the cot. Russian Bear Market sells cots that are smaller than my fat ass American style cot. They would fit better but I couldn’t afford a second cot.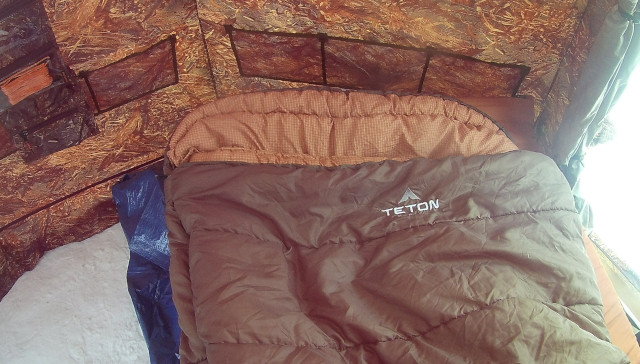
In addition to the sewn in pockets there are two hanging pockets. These are clever. They hang on Velcro and aren’t part of the tent. I plan to load them up with useful stuff and keep them with my miscellaneous camping gear. Then I can hang them in the tent with all the stuff I need already in the pockets. Here’s one of two. 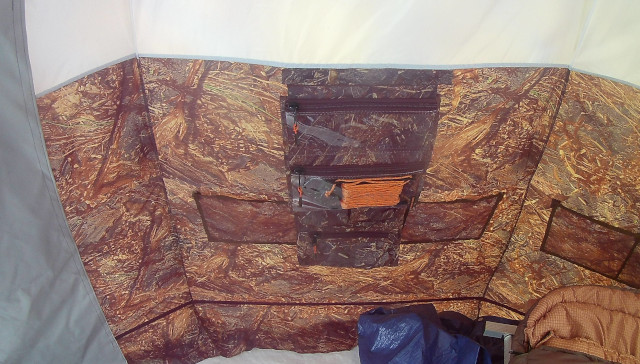
Here’s the other one. 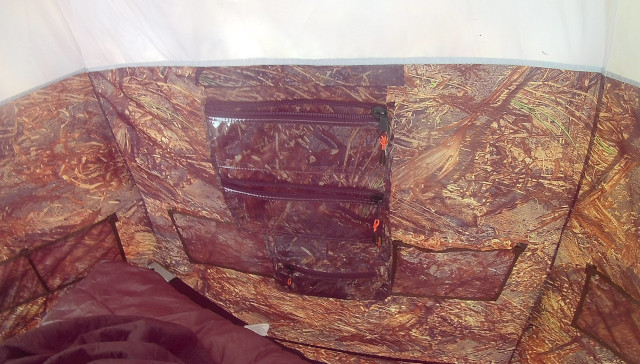
I got a “dog blanket” to cover my bedding. It’s meant to keep a normal household bed reasonably clean when dogs sleep on them. I figured it would be good for a tent where pine needles and stray bits of snow and stuff would be bouncing about. (Nature is messy!)
It got a full test and passed. I was out rummaging around for firewood and left the door open. Our cat moved in. You’ve never seen a cat as happy as one that’s snoozing in its own 9′ diameter tent with a cot, mattress, and sleeping bag that some dumb human had arranged for its pleasure. No pawprints on my sleeping bag so I call it a win.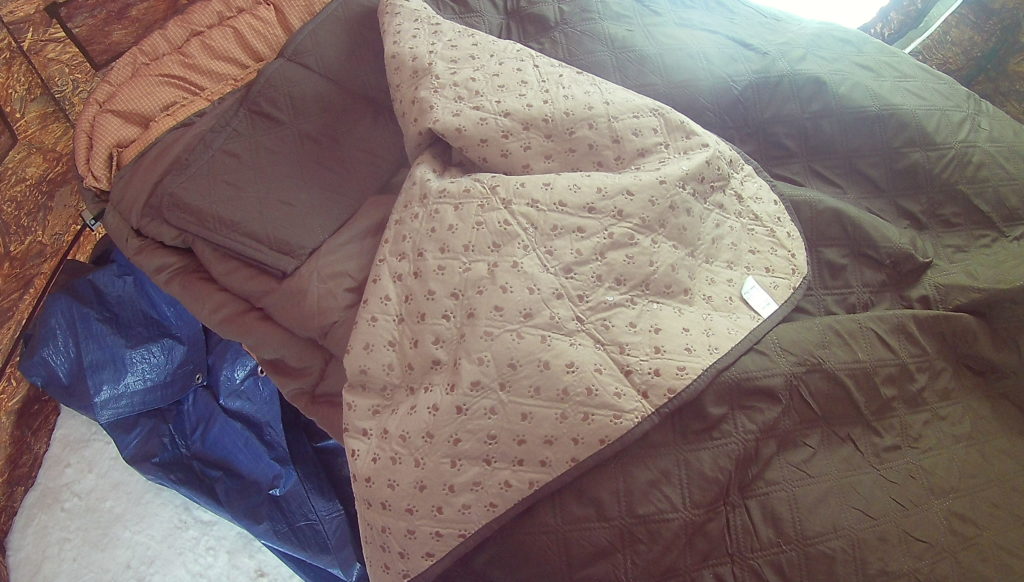
Here’s a picture of the damn cat. In this photo it’s pissed off that I kicked it off my bed. 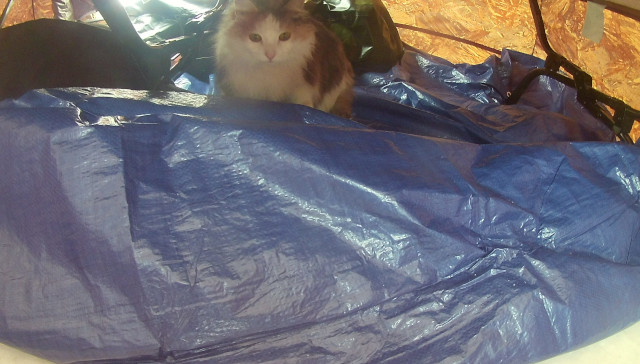
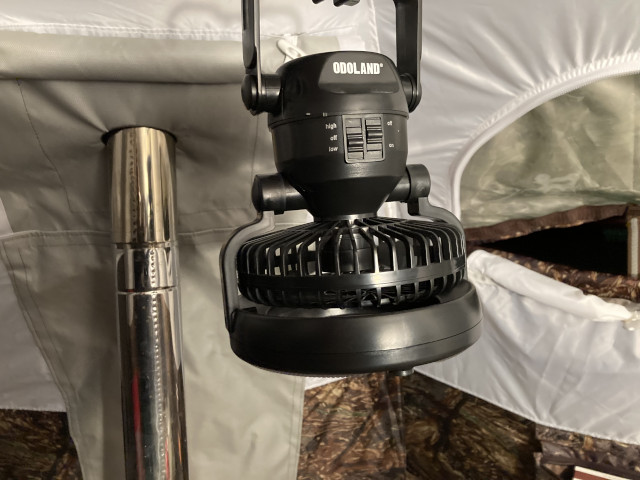
Heat rises and the dome gets super hot. It’ll be an easy 50 degrees hotter at head level than ankle! A battery operated fan and light was the perfect choice. I set the fan on low and it was nearly inaudible. It helped regulate the tent’s temperature and is well worth it.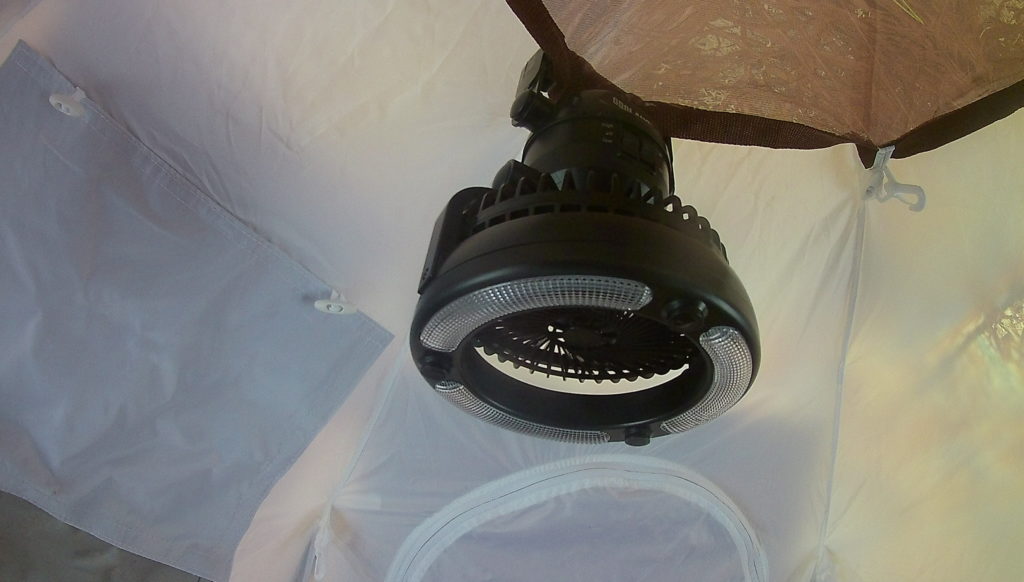
The top of the dome has a “cargo shelf”. It’s the camoflage octagon on the upper right of the photo. Stuff mittens and socks in there and they get the most heat available in the tent. Dries things out nicely. Notice too the zillion little white clips for hanging stuff. Very handy. 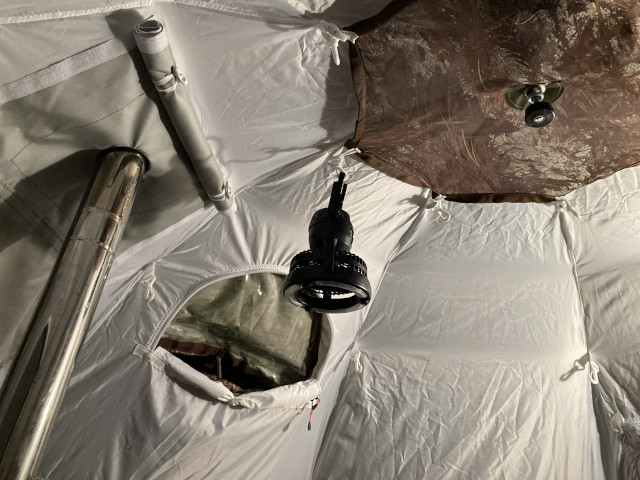
The light and the fan can point in different directions. 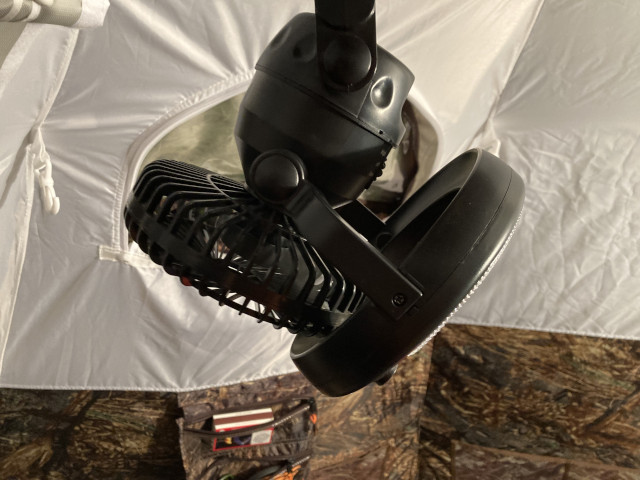
This is clearly a winter tent. The two windows are small and have a million layers to be sealed to one degree or another against the elements. They’re mostly for ventilation. You won’t be looking out at vistas through these. However, the doors (there are two) would be fine for that purpose. This is what it looks like sealed up. 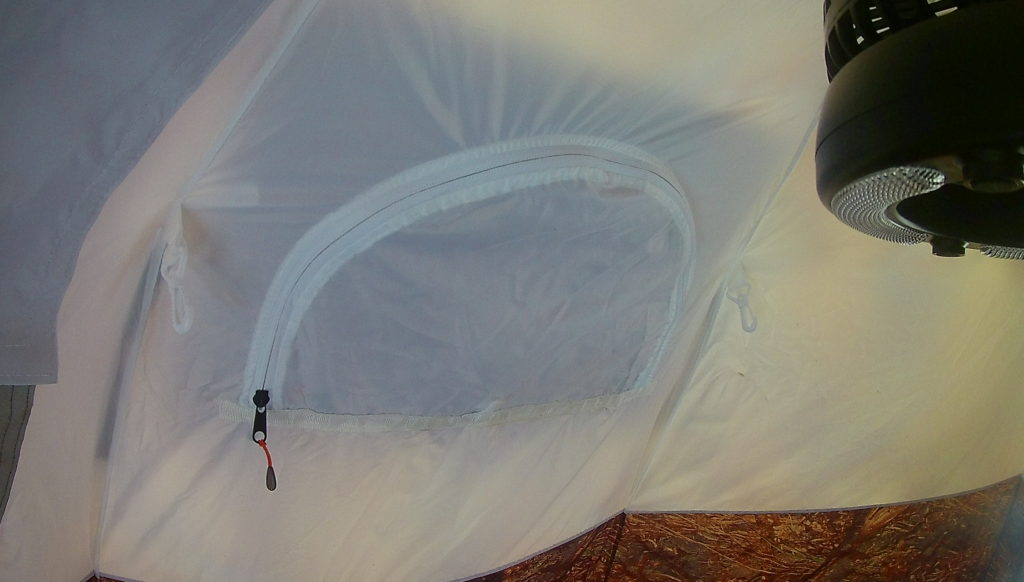
Here it is when open. Note there are several layers and many options for “open”. There are screen options and you can also have it “closed” but get sunshine through a transparent window. There’s a stick to create a gap to allow ventilation in even the worst weather. I left it open like this all night. It worked well. 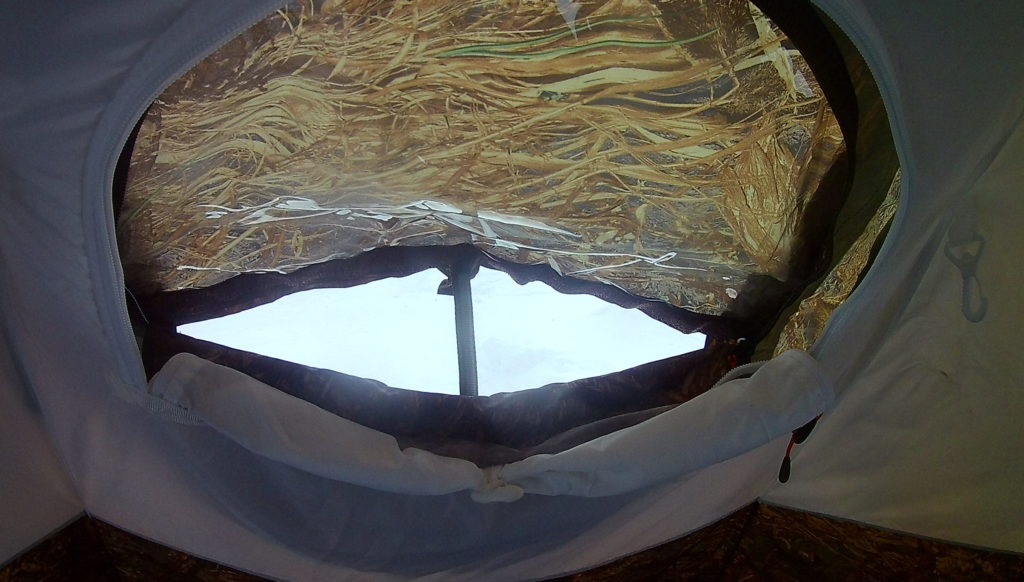
There are many woodstoves you can get for a hot tent. I got the Caminus M from Russian Bear Market because it’s designed to match the UP2. It’s spendy. There are cheaper solutions but probably not better in terms of heat, quality, and matching the tent.
Like the tent it comes in a high quality bag. Like the tent it’s very heavy.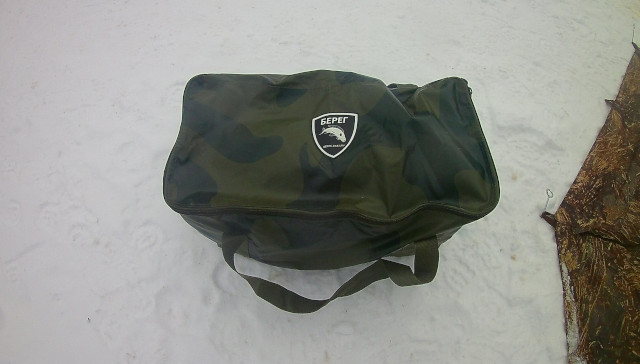
Here’s what it looks like setup and with a coffee percolator perched in the appropriate spot. A note about the percolator, in this test it got hot enough for hot cocoa just fine but it was a little slow. The stove is very efficient and unless it’s just massively cold out there you might not want to stoke it too much and roast yourself out of the tent. I intend to cook on the stove and it’ll work but I’ll need to get used to it.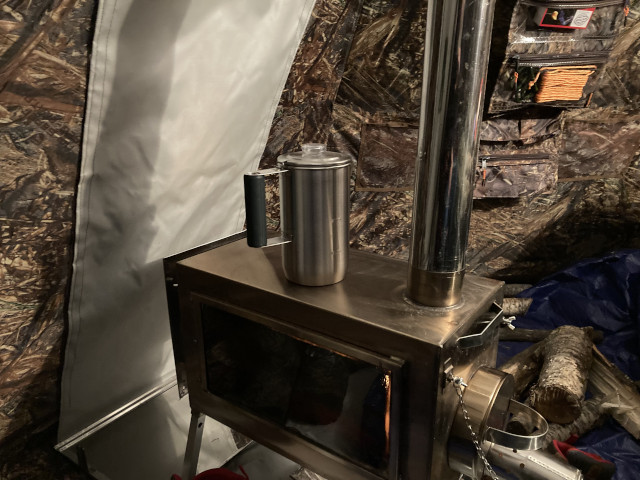
Notice the chimney goes out in front. This fits in the dome shaped tent perfectly. It’s a unique feature of this stove. 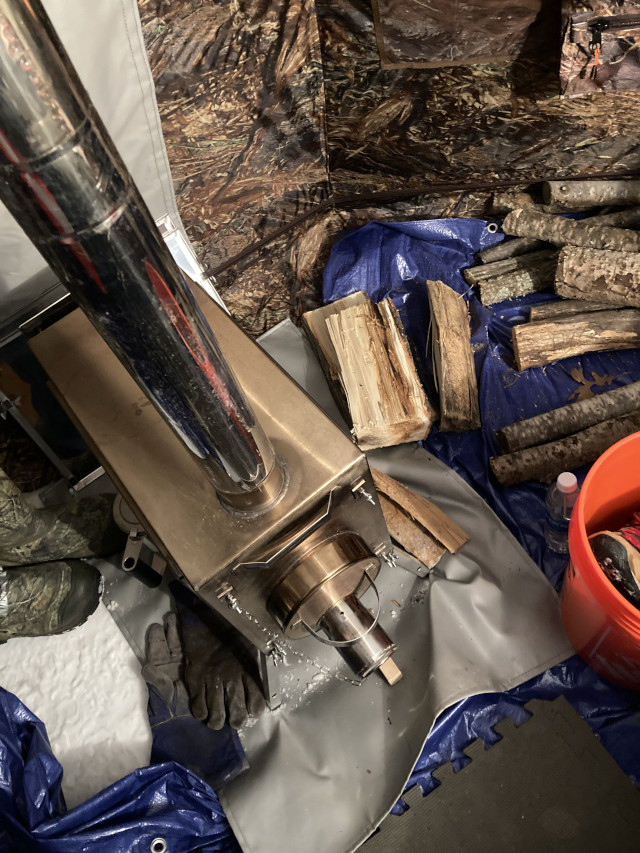
Proof is in the pudding. This thermometer was on my pillow. Be aware that the top of the tent is very warm and the floor isn’t. If I wanted to be misleading I’d stick the thermometer in the overhead storage shelf and say “look, it’s 90 degrees in the tent”.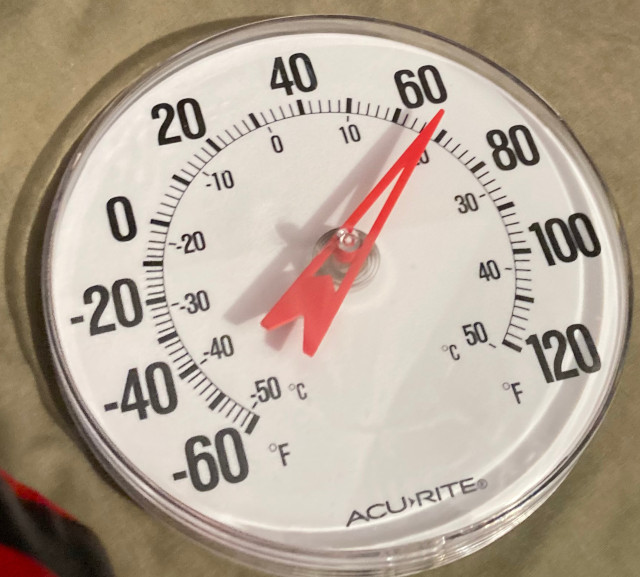
There are two metal “heat shield” covers for the stove’s windows. I hear it can be used as a sauna but I don’t know about that. I’m not sufficiently Russian to know how to setup a sauna while camping.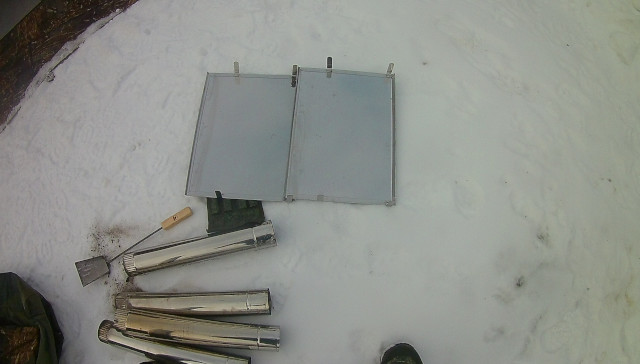
The windows on the stove are beautiful. They also serve a purpose. The heat radiates out of them much more than the surrounding metal. Physics matters! You can leave on the heat shields if you want but why would you?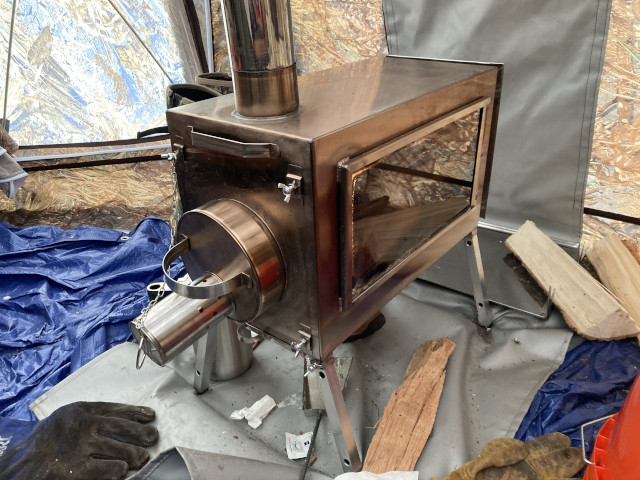
OK, that’s the trip report. Sorry it’s so long. Get out there and enjoy nature.
Holy Moly that is quite the set up!
I bet you aren’t kidding when you say expensive.
I’m old enough to remember the old Army Surplus cabin tents that you could put a stove in. Weighed as much as a small car and took a platoon to get it set up.
Then you had to worry about mold when it got wet.
I’d say you should be good to go with that outfit.
Yeah, I went all out. Sooner or later I will use it in pretty extreme conditions so I decided to go for it. BTW: Neither was cheap but I checked the Amazon link and the price of the stove and the tent have both increased since I bought it. Glad I bought when I did. It’s a nice stove but it’s not gold plated.
Fascinating, thanks for the writeup.
My own hot tent for Wisconsin deer hunting is an old (35 year) Sears canvas cabin tent, with a Mr. Heater Big Buddy propane heater running off 20 lbs tanks. Yes, air circulation helps a lot. I use some wool army blankets, one over the sleeping bag and one spread out over the plastic floor as carpeting. I have a large ceramic tile that I set the heater on. However, I’m not camping in deep snow or deep winter, more like very late fall. Usually no snow or less than 6″, and daytime temps of around 32 degrees F.
That’s a fine setup. So far I’ve only used my tent in about 20 degrees (one of the two “tests” was in a huge blizzard) I think I’d be fine in just about any weather but camping out during a 30 degree hunt sounds perfect!
The heat shields might help get the stove top hotter, making it more suitable for cooking.
I hadn’t considered that. I’ll test it out next campout. (Also, it was hot enough for basic cooking but not overly so. Perhaps I’m spoiled by devices like JetBoil that nuke your food very hot very fast.)
Squirrel???
Good work, AC. You’ll be good to -30C easy, and I have heard great things about the Bear tent. Thanks for the write up too.