
I love the word “blast gates“. I sense NSA snoops adding my name to a dossier every time I type it. Blast gate, blast gate, blast gate. Russian collusion to make deplorable blast gates! Testing testing testing one two three. Blllllaaaaasssssttttt ggggaaaatttteee!
Oh that felt good!
[Note: Also something went wonky with my GIMP resize batch process. Some images may be a bit small. If so… um… suck it up. Also if this post never goes live it’s because the NSA has extradited me somewhere scary; like Guantanamo or Detroit.]
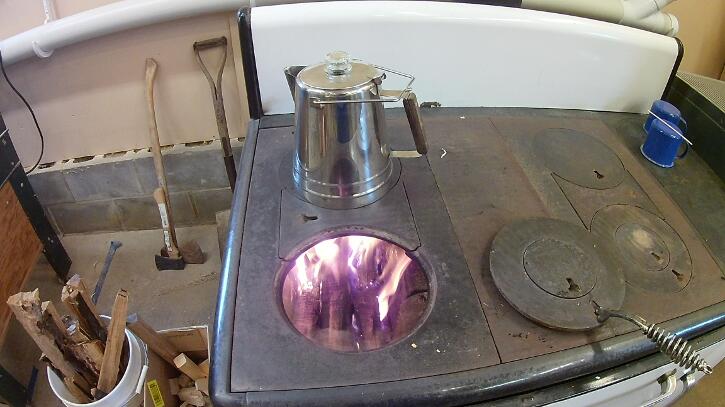
Step one to building awesome blast gates is to show proper respect for Betsy, my beloved stove. Get the pot simmering and heat the place or you won’t get far:
The first fabrication step is to rip 1/4″ plywood the right width on the table saw and then cut to length on the radial arm saw… which creates enough dust to motivate you to finish the damn project. (In summer sawdust is less of a problem because I can open the garage door.)
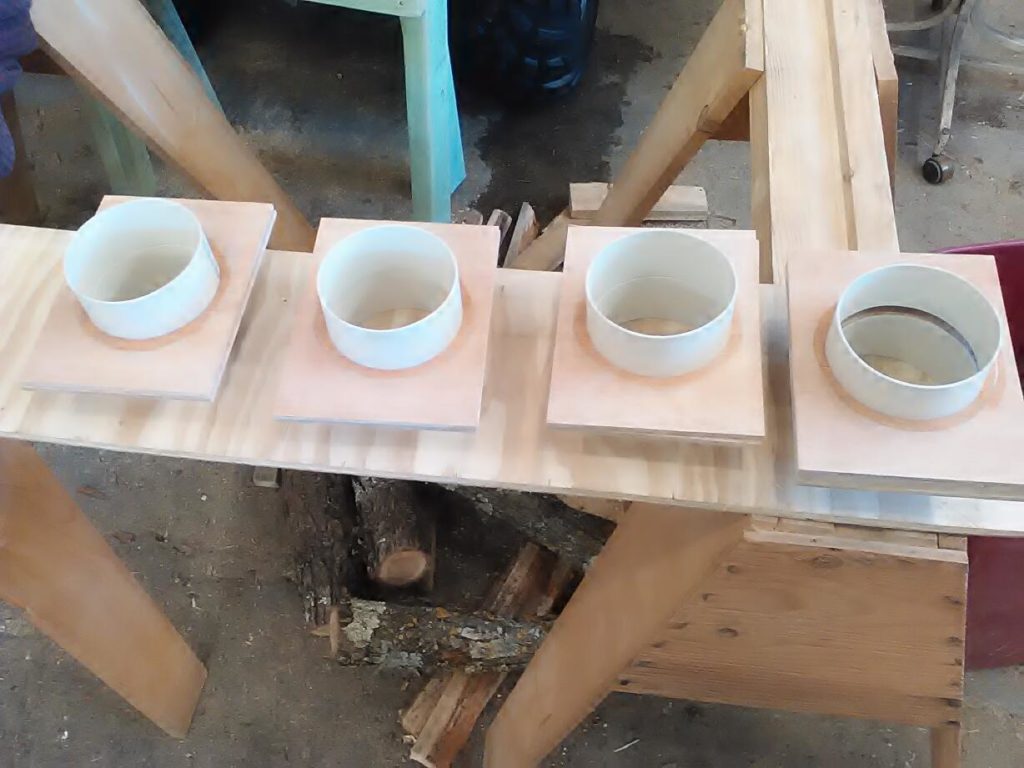
Each gate has an outside upper, outside lower, and an inside “gate”. For people that are weird enough to care, here are some details; the upper and lower plywood bits need to be square (or rectangular if you wish) and large enough to exceed the 4″ hole with a generous margin on all sides. You don’t want to overestimate the strength of 1/4″ plywood. You also need room on two sides for a spacer between the upper and lower.
Got it? Hole for pipe, space for strength, and a little more width for spacers.
The gate needs to be about twice as long and the upper/lower parts. The gate will have one side with a hole and one side without a hole. Make the gate narrower to fit between the spacers.
The upper and lower will need holes suitable to slide a 4″ thinwall pipe into it. The gate needs a similar sized hole to let the sawdust through.
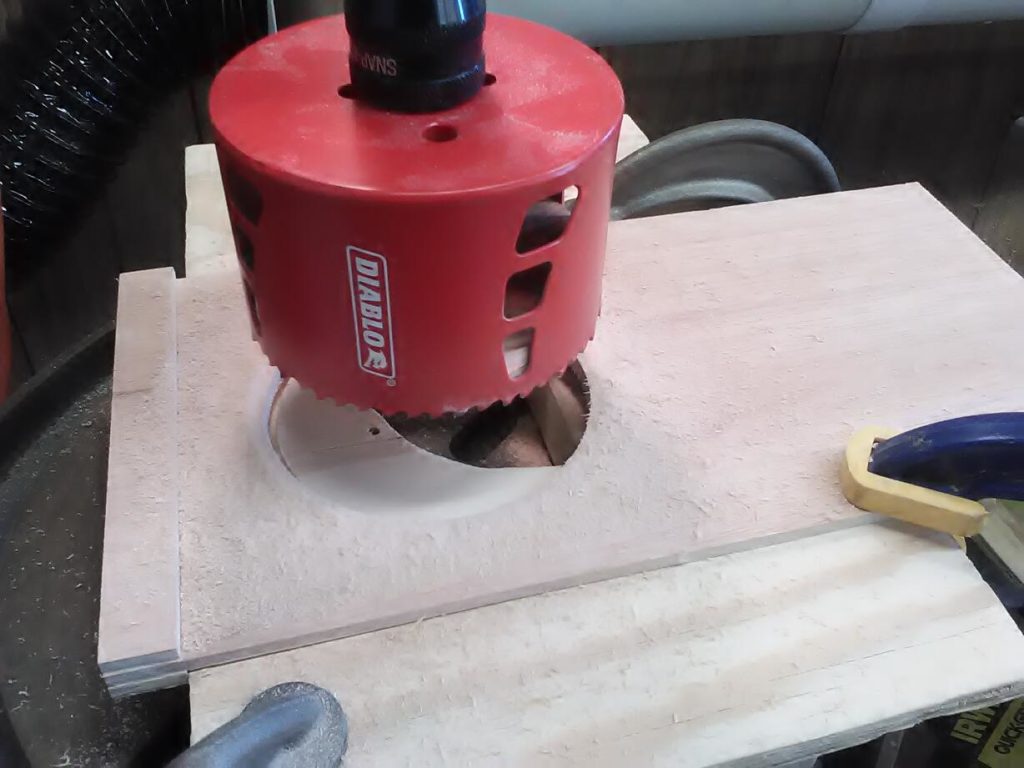
I bought the biggest hole saw I could find (4 1/8″). It was too small to accommodate the outer diameter of the 4″ inner diameter thinwall pipe. But it was close.
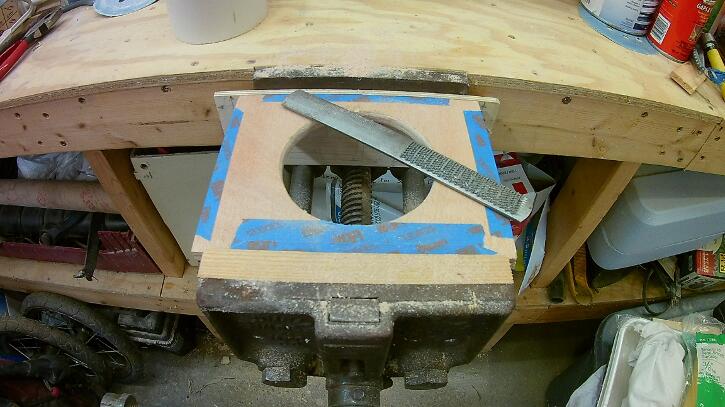
Initially, I used a rasp to make it work.
After the first gate was done I had proof of concept on my half assed “design” and wanted to gear up for production. After some bitching about the cost, I bought a cheap barrel sander for my drill press. That made sizing the upper and lower holes super easy. (No need to resize the gates.)
Best $5 I’ve spent since November when McDonalds was selling the McRib.
I very much preferred a hole saw. Using a handheld jigsaw for hacking out fifteen (!) perfect circles to make five gates would suck!
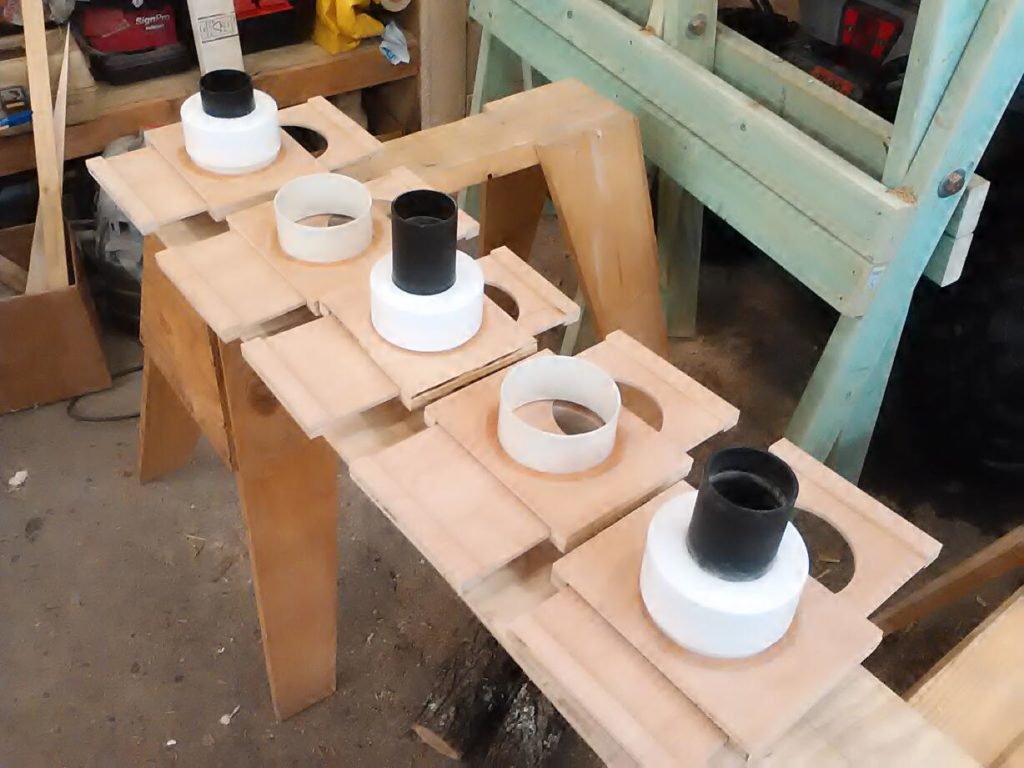
While I was making a mess, I lopped off pieces of 4″ pipe for the upper and lower using my bandsaw; thus filling the air with plastic particles… I was beginning to really pine for a complete dust extraction system. (A hacksaw would be just as good but I was cutting 10 pieces of pipe and feeling lazy.)
I made the pipe bits long enough to easily friction fit any other pipe component I might want. At the moment all I was using were end-caps but who knows what the future holds? I left a little extra length; just in case. I also made sure the cuts were nice and straight and used a utility knife to clean off any burrs from the cutting.
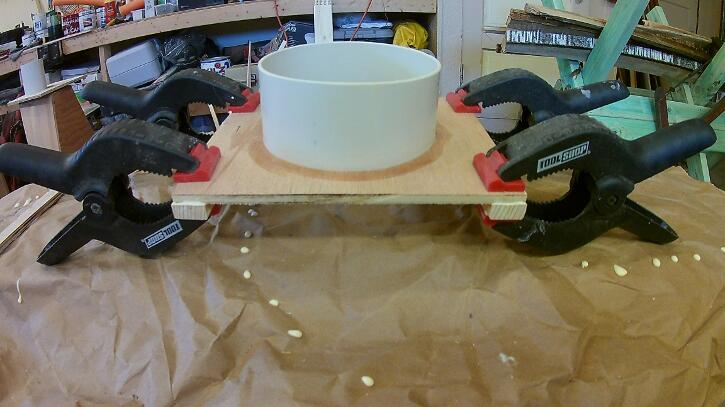
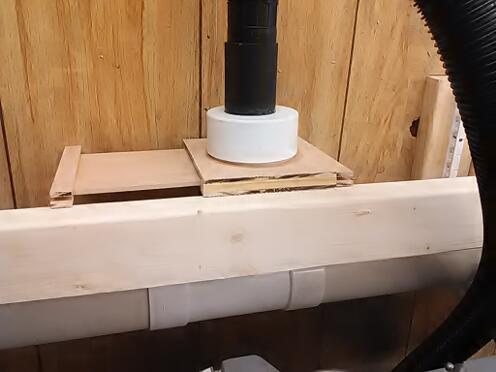
Here’s how it looks halfway though. The pipe fits through the hole (flush with the inner surface) and is cemented in place. Then two spacers are glued on. This is an unflattering photo… most of them went together nice and flush and prettier.
The spacers are wood and the upper/lowers are plywood, so I used Titebond. The wood/plywood bond is solid and easy.
A note about the spacers: I was using 1/4″ plywood and could have used a strip of 1/4″ plywood for the spacer too but the gap for the gate would be exactly the same as the thickness of the gate. Making wood things exactly is asking for trouble. To make it loose enough to function well, I used bits of wood that were slightly thicker than 1/4″. I don’t know if that was necessary, it’s just what I did.
The cap is PVC (?) and it’s fitted to plywood. For a multi-material bond I bought some crazy space goo called E6000. This is good shit! It was smelly and messy but makes a heck of a bond. I’m sure it’s banned in California and kills lab rats at 50 yards. I recommend it heartily but only if you’re cool with the dark arts of yucky chemicals. If you’re a dipshit who never wears protective gloves and sometimes forgets to vent areas, maybe stick with Titebond.
The E6000 label suggested coating the threads with petroleum jelly before replacing the cap. Brilliant! Worked slicker than snot. Why didn’t someone teach me that trick years ago?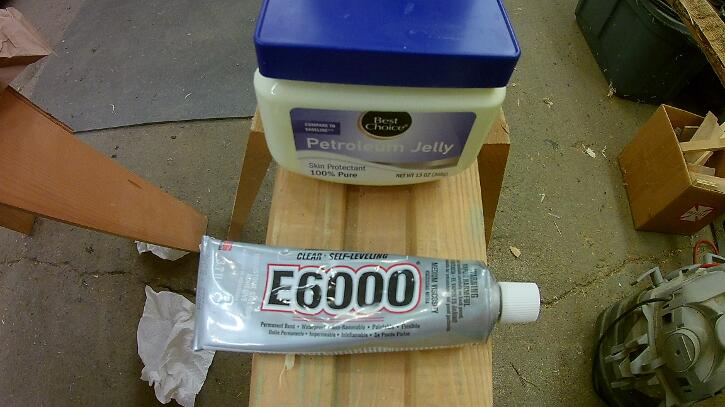
Time for a break and a hot beverage.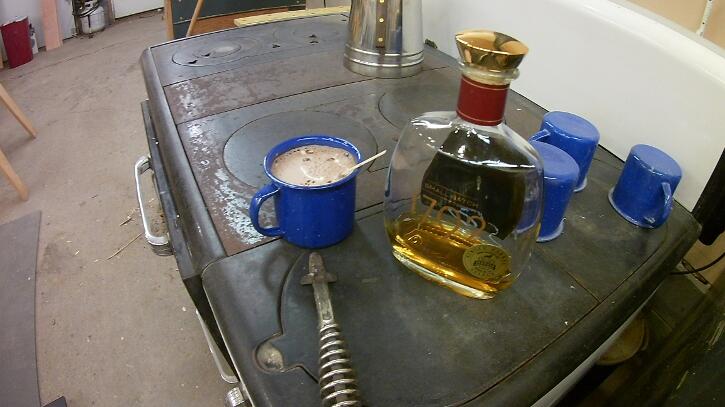
Things got interesting because bourbon storage matters and I’d neglected this important task. The heat on the stovetop is on the far left of the stove. It’s hot enough to boil water. The far right is pretty chill… but not chill enough. I spaced out and left my bourbon there where it was moderately warm. That was a bad idea. Alcohol vaporizes at low temperature and there was pressure under that cork. Luckily I didn’t let it go too far and launch the cork into the ceiling.
After popping the cork I took a huge whiff and inadvertently sent a snoot of vaporized bourbon straight to my brain. Oh damn was it good! It’s what flowers in heaven smell like! I enjoyed a few minutes of yummy delicious happy fun time. Alas, I think I wasted a bunch of pricey delicious bourbon that escaped the bottle in vapor form. Oh well. No regrets and the cocoa (also with bourbon added) was good too.
After a suitable break to enjoy lunch and vaporized Kentucky heaven, I got back to work. The lower is exactly like the upper. E6000 for the PVC, Titebond (or any wood glue) for the spacers.
As I always do when messing with wood glue, I made a mess. Way heavy chemical E6000 which probably could scramble my DNA and make my left nut implode was no big deal. It just seems natural to me. Cleanly applying wood glue, which should be so easy a chimp can do it, eludes me. I’m always like that. Of course, I cleaned up all the mess so no harm no foul. Be careful that you don’t leave glue clogging up the slot for the gate.
My advice? Steal a roll of paper towels from the kitchen and use all you need.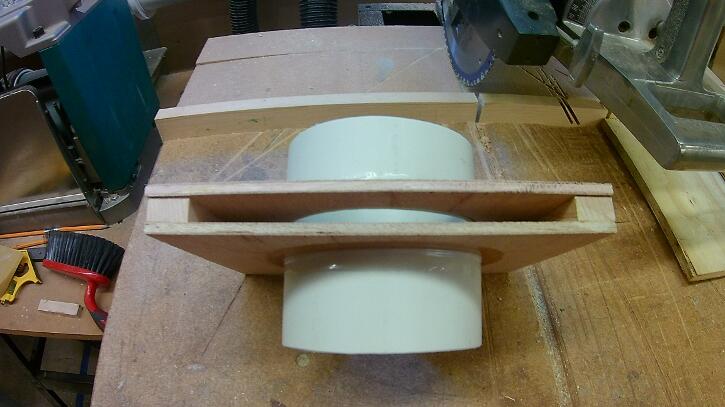 Another view:
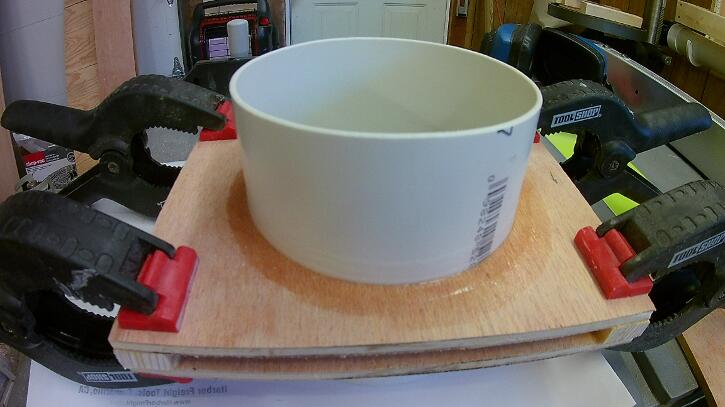
Now for the gate. I ripped some scrap strips of 1/4″ plywood and put them on the top and bottom of the gate. The strips are there as a handle and to stop the gate precisely where the hole lines up.
On my first gate I made the strips as wide as the upper and lower… you can see about 3/4″ overhang on both sides. I thought this would look cool. It didn’t. Later I went back and sawed them flush. Much better.
I also theorize the strips make a bit of a seal on one side of the gate… there is some vacuum leakage based on the gap between the gate’s thickness and the spacers (which I made slightly over-thick so the gate would move freely).
It doesn’t seem to matter. This is a sawdust gate and not an oxygen scrubber on the space station.
After gluing strips on one side of the gate, insert the gate in the upper/lower and glue strips on the other side of the gate. 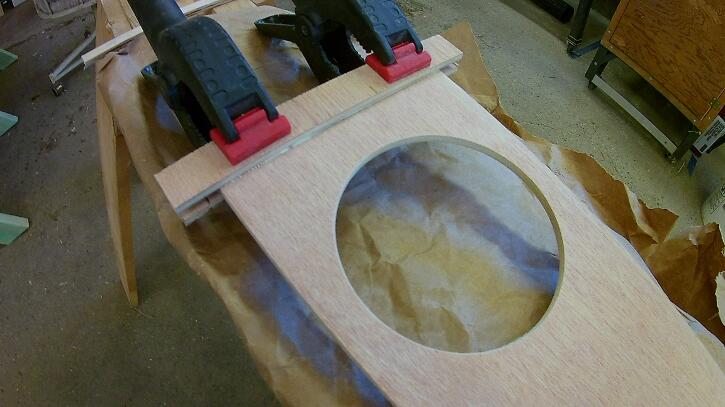
It’s cold out. Stay hydrated.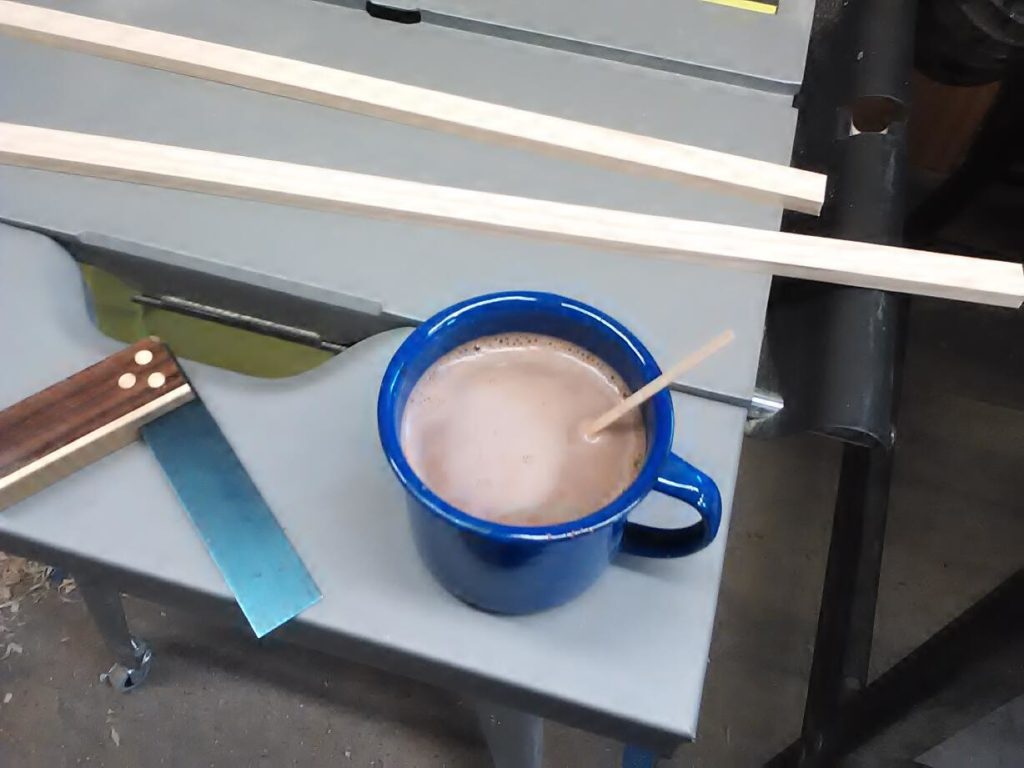
If your station is based on accepting 2 1/2″ shop vac hose, take an end cap, drill a 2 1/2″ hole in it and use E6000 to cement a receptacle in place. My hose came from a couple of shop vac parts kits (basically a 7′ extension for a shop vac). The parts kit has a dizzying array of receptacles to fit any shop vac in creation. I found this tube-like doodad in the pile of pieces and it worked great.
This was my choice. I could’ve just glued this straight to the blast gate, but then I couldn’t re-arrange my stations if I change plans in the future.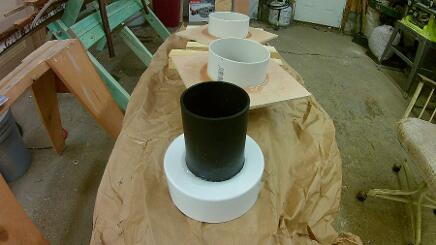
Speaking of planning, I arranged my stations and taped them out so I could efficiently position Ts in my main sewer pipe.
I left the tape there on my shop floor. Anyone remember Les Nessman’s office?
Test run. Open:
Test run. Closed: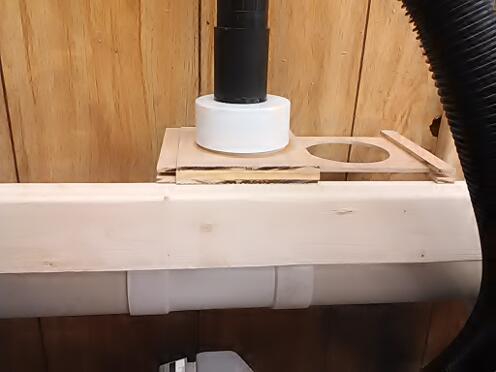
It worked!
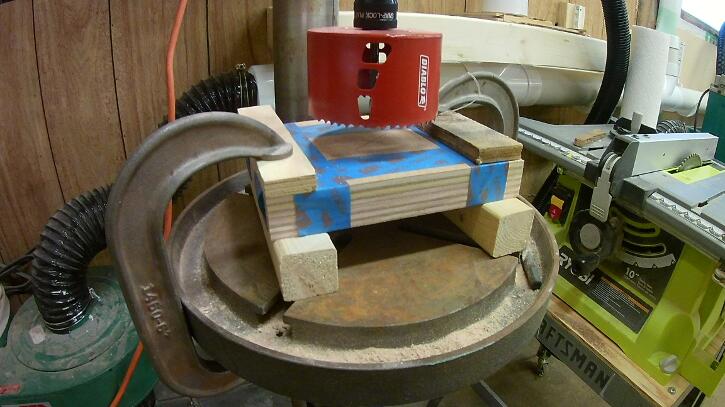
All that was left to do was gear up from my a “proof of concept” gate to faster production for the rest. Why not drill all the uppers and lowers in a stack?
And glue things en masse?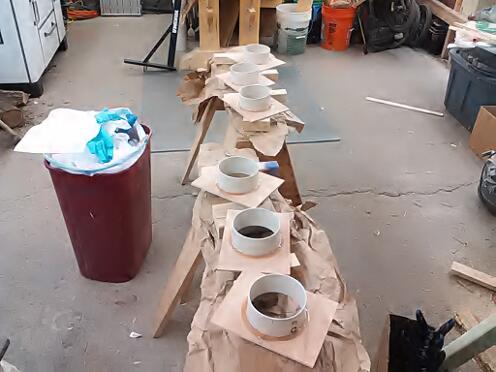 Aren’t they pretty?
And done!
I have only 3 stations which need 2 1/2″ shop vac hose so I only made 3 such adapters. The other 2 gates are a “spare” (which I capped) and one for my planer.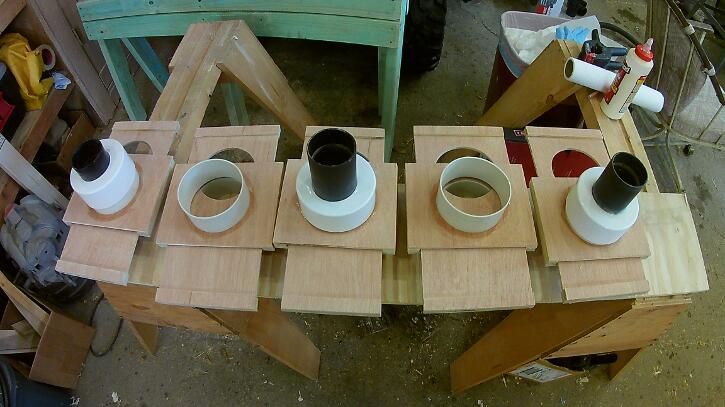
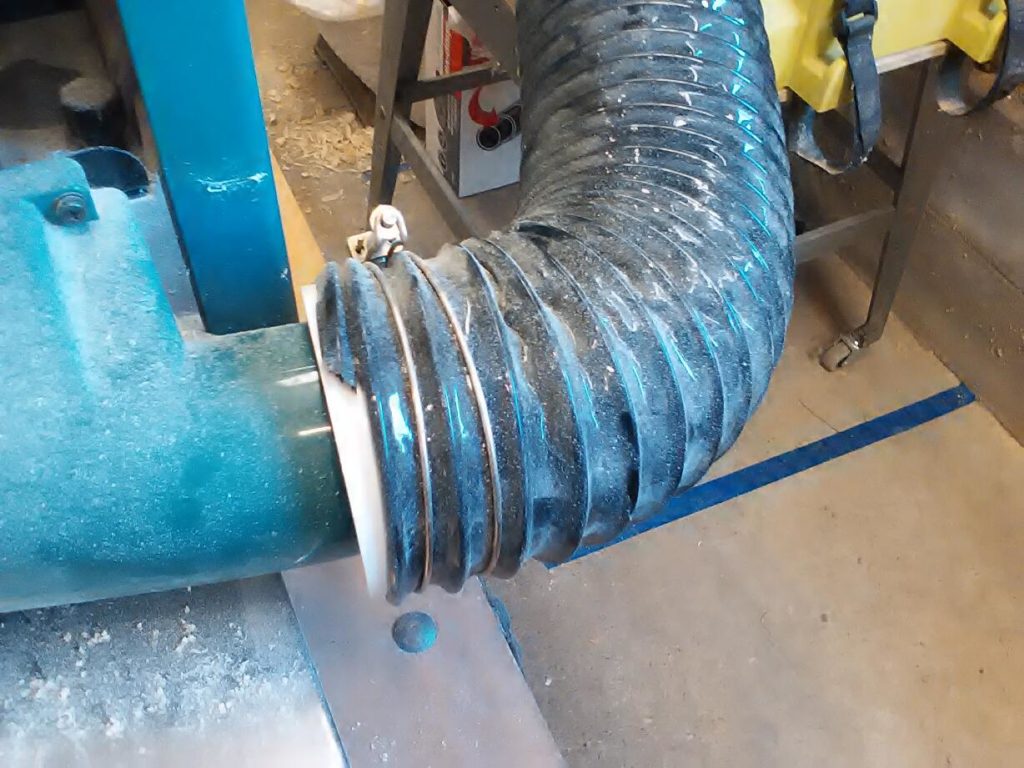
For my thickness planer I used an appropriate PVC fitting, the other half of the corrugated hose I hacked apart, and a PVC fitting that happens to fit the weirdly sized 3″ collector on my planer. One can fret about friction fits and “loose gates” but I’ve tested it and it catches 99.9% of the mess.
 Now you’re done. Clean up all the scrap you can find because the stove is getting hungry and it’s cold out.
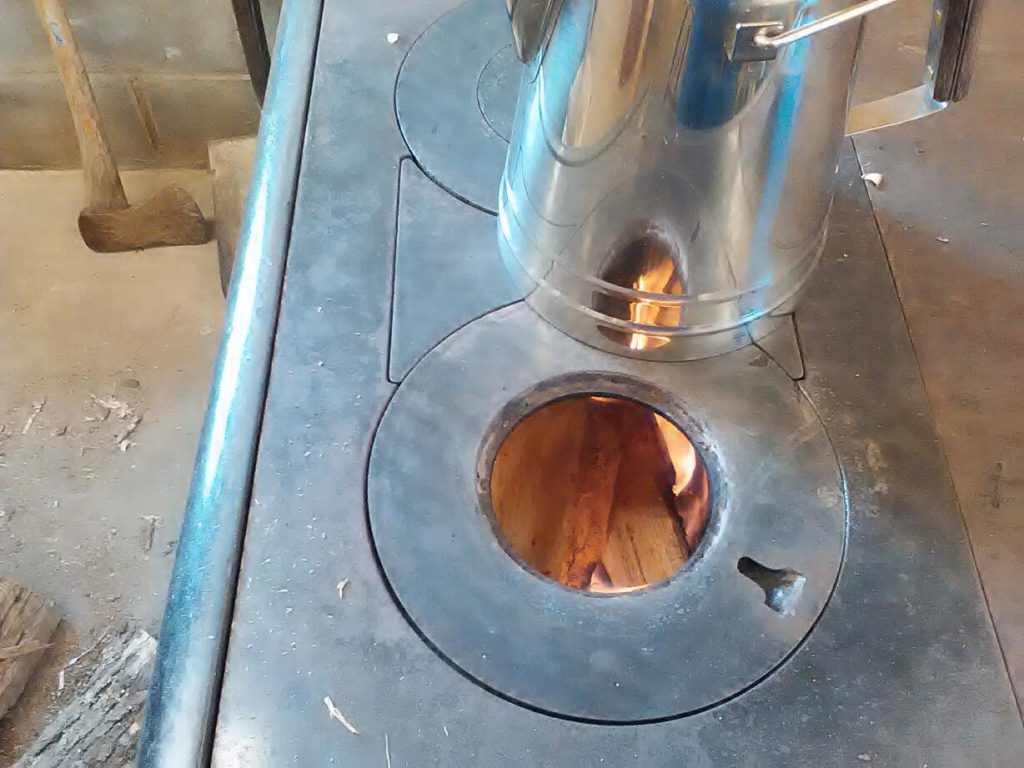
Stay warm y’all. Spring is gonna’ come sooner or later.
two words. Router buddy.
( if you can find one)
http://toolmonger.com/2008/03/06/your-routers-new-buddy/
My favorite way to make large, but round, holes in wood.
I’ll check it out. Hole saws are cool but they’re definitely a one trick pony.
Consider getting a General brand fly cutter to finish cut arbitrary sized holes in wood on the drill press. Clamp the workpiece so it doesn’t become a Frisbee.
Why not pipe the dust collector into the stove? Air and fuel in small particles, what’s not to like?
Sometimes I’m cutting stuff I don’t want to burn, like plastics, or sanding paint and fiberglass. And sometimes it’s warm… or at least I dimly remember a time before the current winter was freezing my ass.
Looking good! Beverage tip from bourbon land: put the corn juice in mulled cider, you know the warm apple cider with the spices that shows up around Christmas. Mug of hot cider, slash of bourbon de jour, and a small bit of butter(unsalted). Trust me.
Mulled cider? Consider it done!
damn…… i still have 2 months of winter at least… gonna procure some cider and raid the spice rack….
Allow me to throw a log on the fire for you to think on.
My dad had a sawdust vac system, it’s all gone now or I would provide a picture, so I’ll try to use words.
Basically he had a big suction fan, think electric turbocharger on the wall that blew the sawdust in a pile on the ground in the woods out back. He wanted to be able to turn the vacuum off across the width of the shop.
He had two pulleys mounted on opposite walls, about 6-1/2ft up with thin nylon cord in a loop like people used to have suspended across alleys between apartment buildings for clotheslines. Near one end he had placed a horizontal light switch with a hole drilled through near the end and a knot tied about 6 inches on either side of the switch toggle. This allowed him, across the width of the shop, to reach up and move the switch on or off by tugging the cord one way or the other.
That’s awesome!
Radial arm saw… now there’s something I haven’t encountered lately. Seems they’re no longer a Sears/Craftsman home workshop item, and the Chinese haven’t taken up the slack?
Looking for such things turns up (1) reasonably-priced sliding miter saws that aren’t really the same thing, especially as regards scale, and (2) actual radial-arm saws priced at SEVEN THOUSAND DOLLARS. Yipe!
OK, so there are junior models for $4700 or so. Still yipe.
I guess if I want one for my coming-this-summer-for-sure workshop, I’ll be looking on the used market. Or just get a cheap sliding miter saw, which is probably enough saw for any near-term projects.
I have an old 1970’s(?) radial arm saw that I got for very cheap. I have a love/hate relationship with it. It does 80% of what I ask and it was dirt cheap. So complaining seems rude.
That said I think radial arm saws are a thing of the past. Everyone goes for miter saws which are smaller, do mostly the same thing, and take up less space. I’d upgrade to a miter but my old radial arm saw still works and I get irrationally loyal to machinery. Also I only have so much budget and maybe I’m better off spending my bucks on a planer/joiner instead? I think mostly I need a new table for the radial arm saw. Not sure what’s involved but that’s probably the only issue. If I shore it up so it’ll cut more accurately it’ll serve another several decades.