
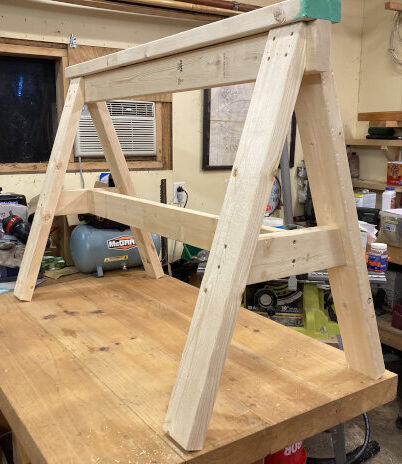
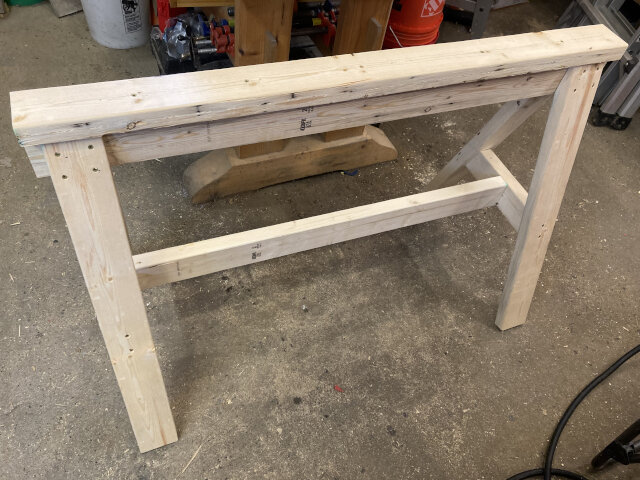
I mentioned here that I was messing around building sawhorses. I didn’t reinvent the wheel, I watched a YouTube video.
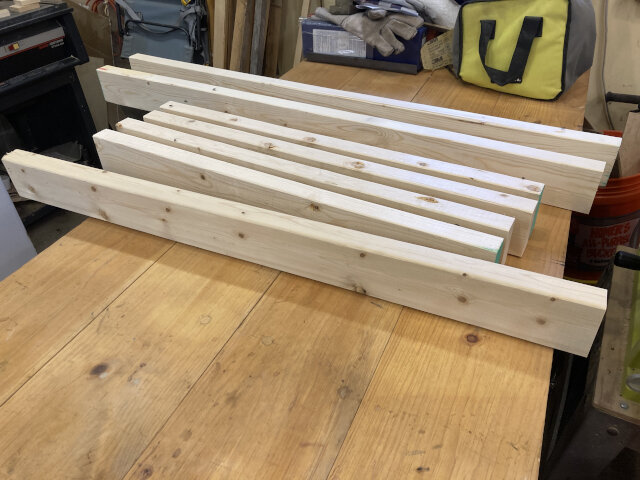
I got to use my new miter saw. First to cut everything to length (it takes three 8′ studs).
Then I set the miter at angles to cut the leg spreaders.
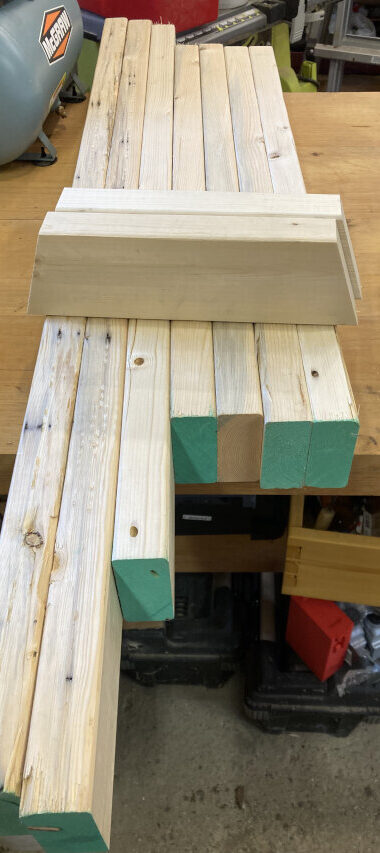
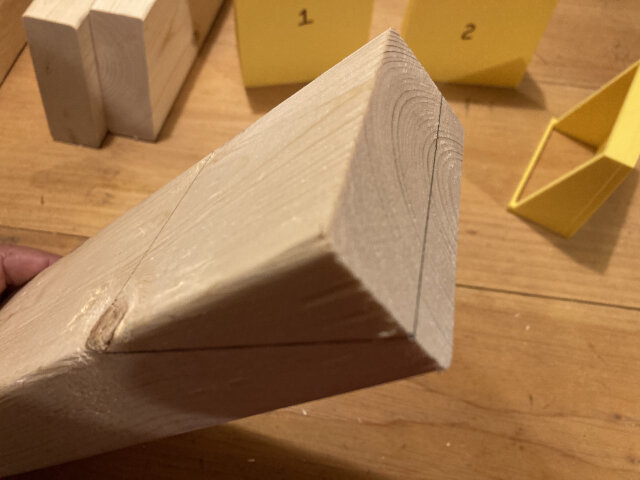
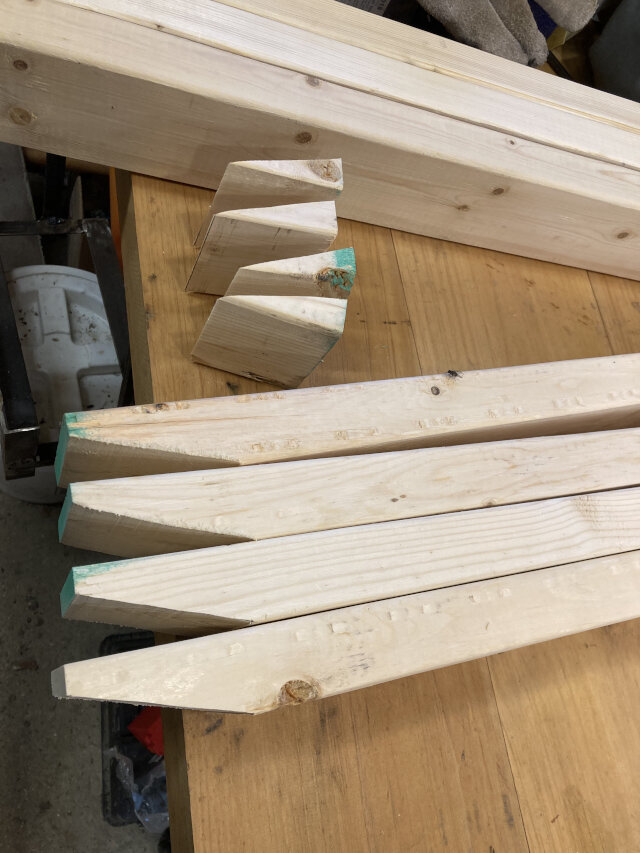
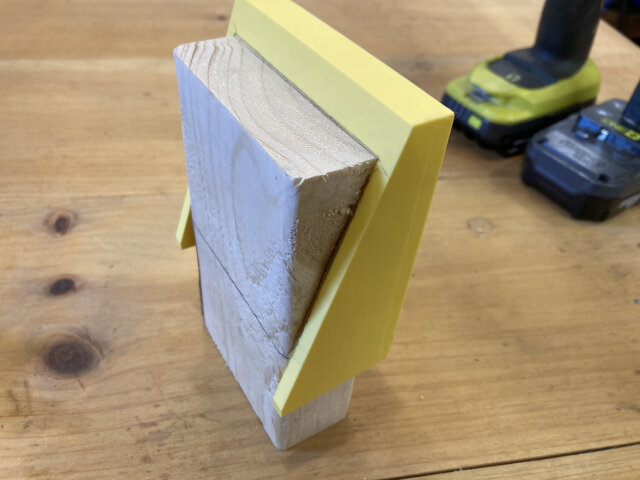
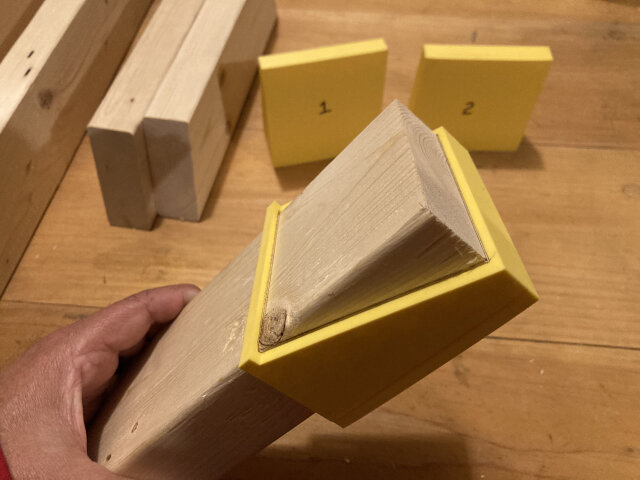
Then I marked the “wedge” to remove from each leg (obviously there are four). This wasn’t something I could just dial into the miter saw.
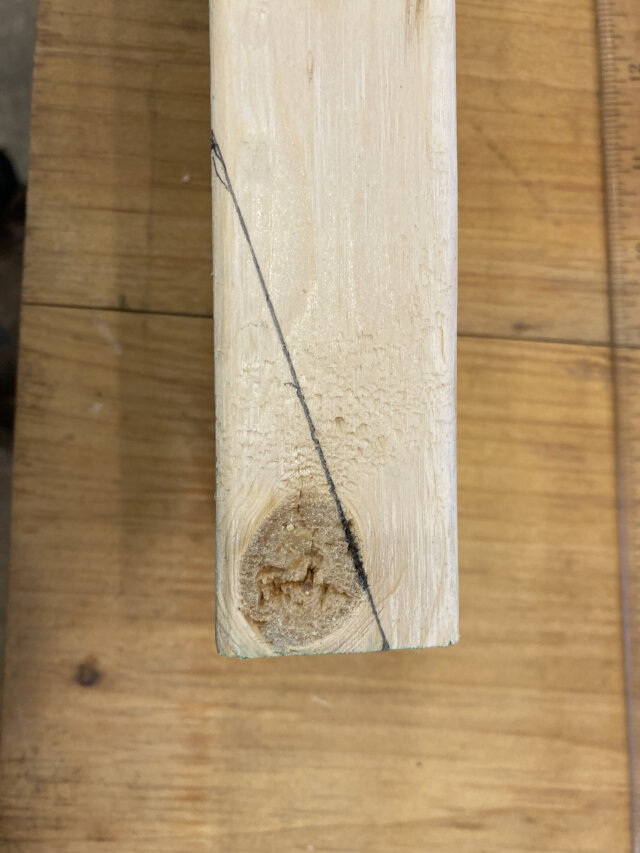
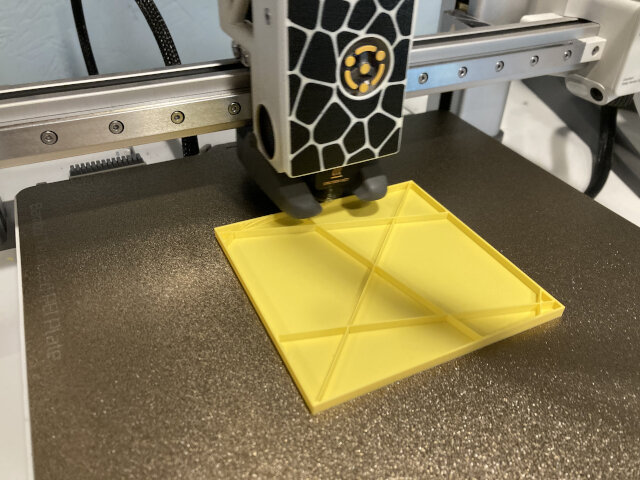
It was a bit of a PITA marking the wedge. I started making a 3d printed “jig”. You can see 3 different hastily designed “prototypes” in the background.
My old bandsaw with it’s fresh new blade was perfect for cutting the “wedge” on each leg. There’s hardly any waste; just a few wedges (which wound up burned in Betsy).
Following the video’s sound advice I put it together with a few tacks from the nailgun before I screwed it down tight with Torx screws. I drilled a pilot hole for every Torx screw I planned to use. Pilot holes is probably overkill but it worked for me.
In fact I think it’s a pretty handsome sawhorse.
I found measuring out the wedge to be a PITA, so I created a “jig” on my 3d printer. Now all I have to do is trace the jig.
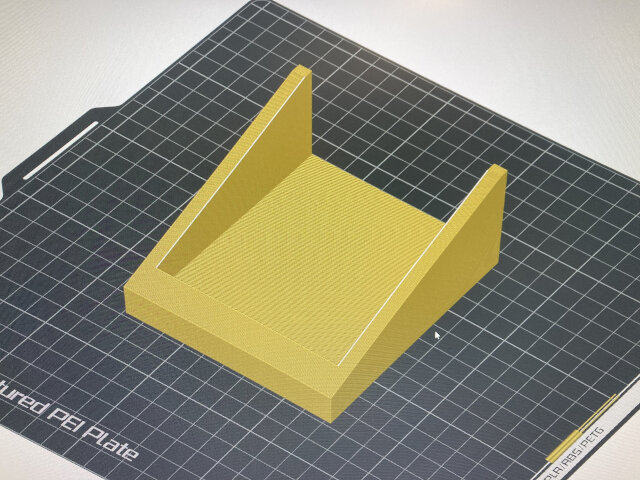
Since it was just a “test” object, I experimented with the world’s sparsest infill. (I don’t recommend that much “void” in any object, it was pretty flimsy.)
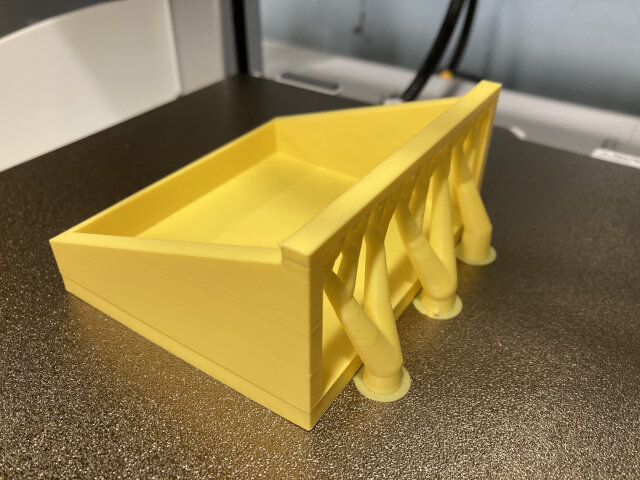
After some testing I realized I needed a “top bar” to trace a line on the top (wider dimension) of the “leg”. Things always cascade so now I needed supports.
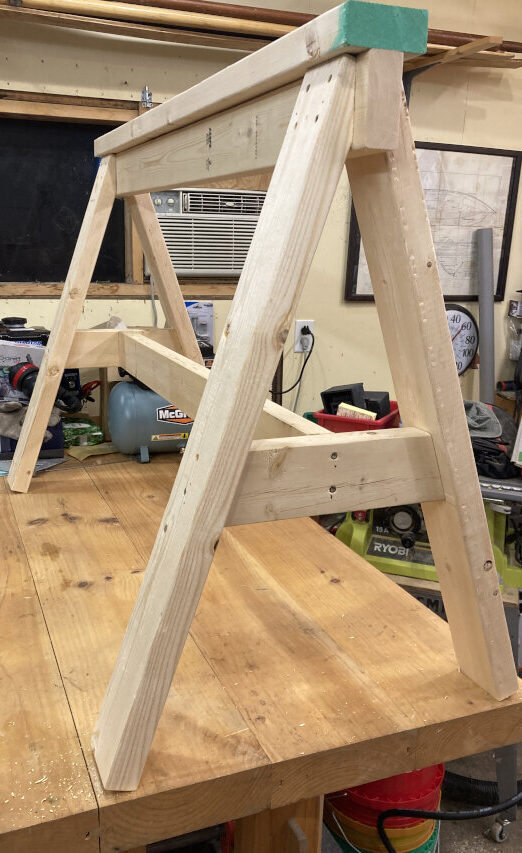
It works exactly as planned.
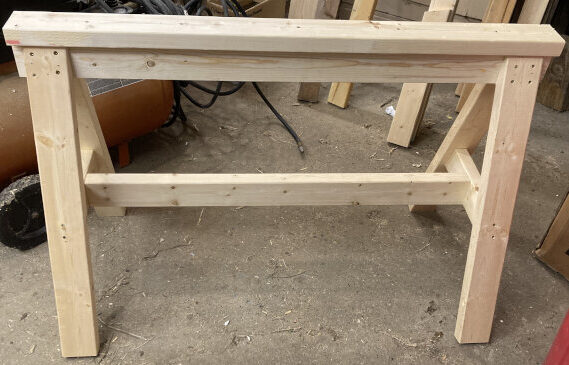
I tested my silly little jig by making a second sawhorse. Works great.
I had far too much fun making the jig. Pretty soon I was going down the rabbit hole with ideas. I’d improved it (?) way beyond a simple jig. I’ll probably show that in a future post.
Sawhorse were my metric for determining whether someone was a carpenter. When they hired on, I asked them to build some sawhorses. Some did a good job, but too many were clueless.
I (former cabinetmaker) knew quite a few old carpenters who used sawhorses as a hiring test.
I think it’s a great idea.
Looks outstanding. Judging by their comments in the video they would probably buy one of your jigs for future use.
I’m thinking of selling a jig. Not likely to make much money but it would maybe pay for a spool of filament or two.
Congrats on the design. I built the exact same configuration only using 1×4 boards, it looks spindly but has been holding up an old door, now turned into a table surface, with piles of electronics on top, for over 40 years without suffering any failures. Glue, screws and accurate assembly rule the universe.
You’re right about all three but nobody thinks to mention accurate assembly. That deserves special mention.
Yep, I (and you) are an engineer/mechanic/electrician/plumber/carpenter and CC&BW
You are well on your way to being an engineer (if you aren’t one already).
Engineering … where you spend more time making jigs to make the thing that you started out designing and making than you do making the damn thing. Rabbit holes are the least of your worries once you start on that path. Ask me how I know …
Phil B
I love falling down rabbit holes. You’re right about jigs. If I have to repeat a measurement three times I’ll easily drop everything while I mentally design a fully automated factory to do the task. I’ve already gone nuts over the simple sawhorse.
If you build one 25% of that size, is it a Quarter horse?
Heck yeah. A quarter horse that a common man can afford (and no need for hay).
If you feel like it make one a half inch wide and enjoy your HO scale sawhorse too.