
I’ve always wanted a miter saw. Now I have one. The thing about a big machine like that is it needs a proper bench/table. I priced out miter saw stands costing anywhere from $200 to $unspeakable. I decided to build my own.
The whole point was to learn. But I also saved a ton of money.
Rather than reinvent the wheel, I picked one of the eleven zillion miter saw table plans online. I chose DIY Miter Saw Stand – How To Build a Rolling Miter Saw Stand. There are more elaborate plans. There are less elaborate plans. YMMV. (I am in no way affiliated with or sponsored by that web site. They don’t even know I exist.)
It’s the modern world and nobody posts anything without “an angle”.
The folks at Kreg make a thing called a pocket hole jig. A pocket hole jig is 100% absolutely not necessary to build a miter saw stand but it looks cooler if you use one. They made the plan with the pocket hole jig in mind.
I knew this. A few years back I watched a contractor make slick trim for a window out of 1″ x 4″ boards and a pocket hole jig. I was like “I want to know that skill”. So, I picked the overkill Kreg design.
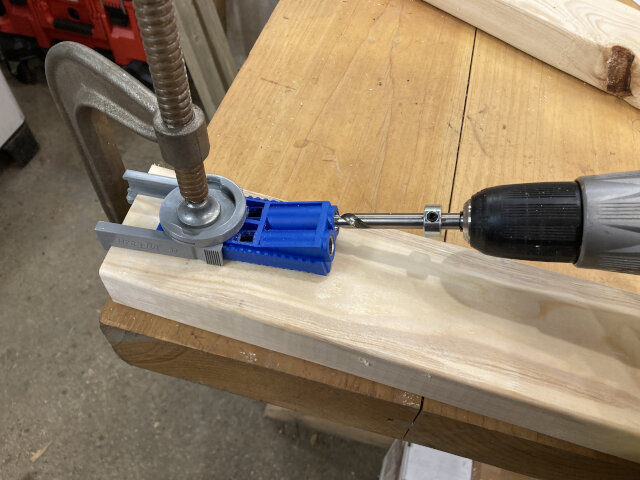
The plans call for a Kreg® Pocket-Hole Jig 720. It looks pretty cool but I didn’t have that kind of scratch and didn’t feel like waiting for Amazon. I bought a Kreg Jig R3. There was exactly one option at my local store and that was it. The set I got didn’t have the clamp or many extra screws so I had to make a second hardware store run to get appropriate Torx screws and a big ass long Torx bit. It was no big deal but if you’re buying on-line get it all at once like this: Kreg Jig R3 Master System with Starter Screw Kit & Classic 2″ Face Clamp. The clamp it comes with is pretty nifty (I wish I had one). The 100 included screws would’ve probably been plenty to do the whole miter saw stand.
Here’s what the fairly minimalist pocket hole jig I purchased looks like (it comes with the drill bit):
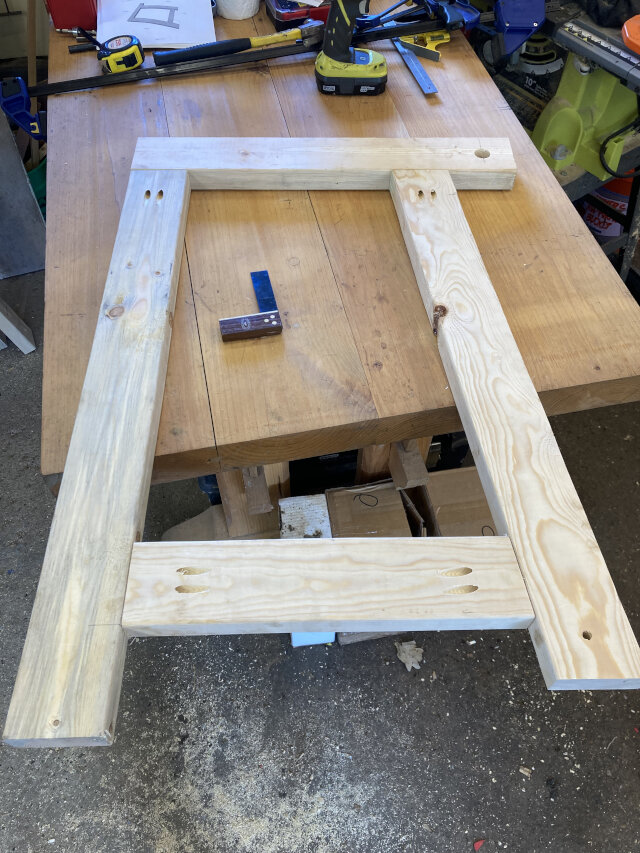
After finally getting the hang of a pocket hole saw and a new miter saw I’d made one side of the table. (Yes I used the miter saw to cut parts for its own table.)
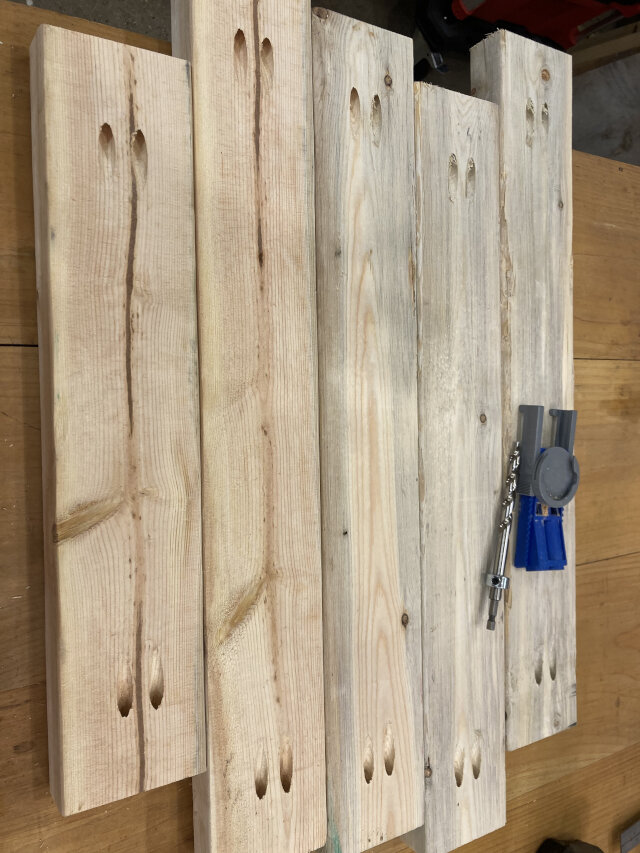
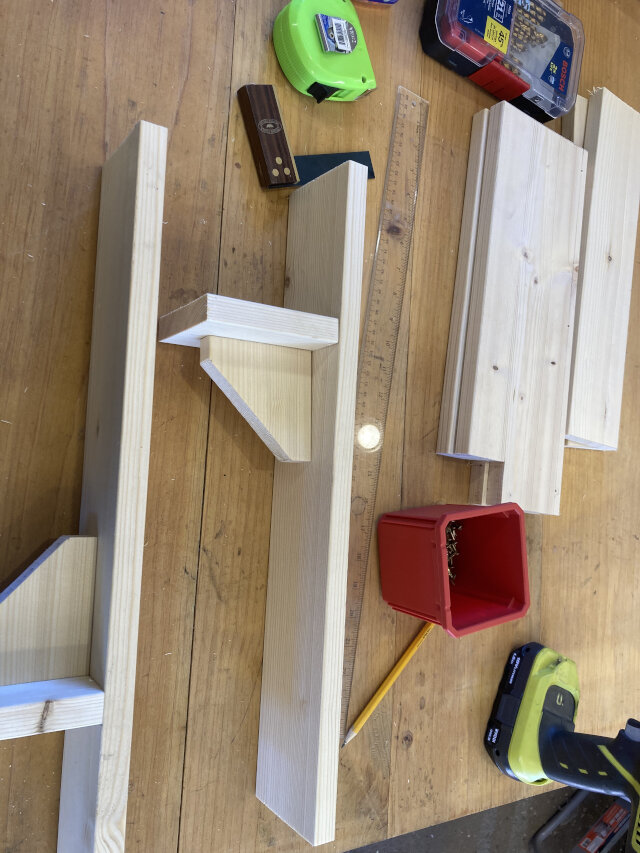
Here’s some of the parts for the second side:
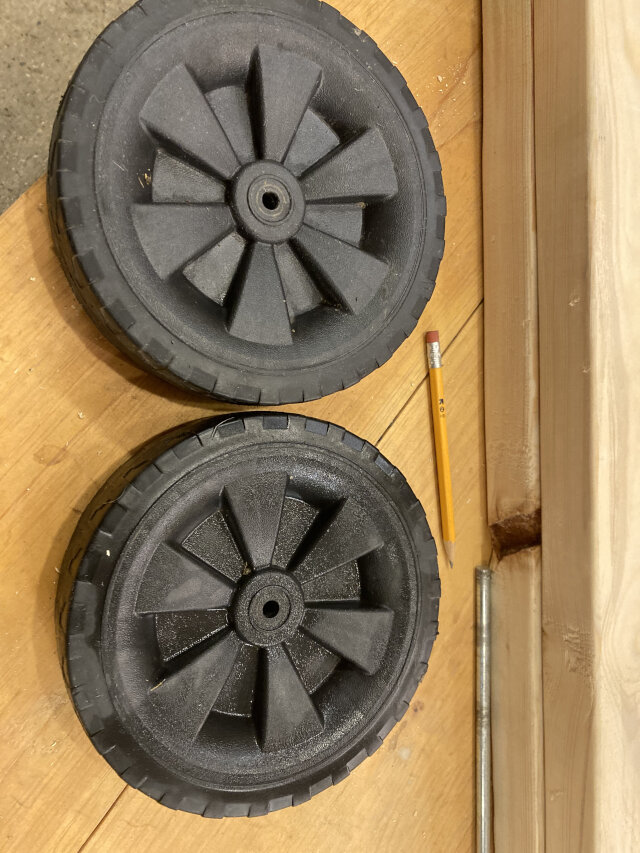
The plans called for lawnmower wheels. My local store didn’t have what I wanted. They came up with a couple wheels but it would’ve been an unmatched set and cost like $40 total. Far too expensive.
At first I was in a quandary. Then I got all excited to use my 3d printing voodoo knowledge. I would make 7″ wheels. I even picked out translucent orange PETG and started planning a circumference of squishy TPU. It was going to be awesome!
Unfortunately, I found some old wheels I’d stashed in a junk pile. They fit the bill. So I just went with that. I saved some filament I guess.
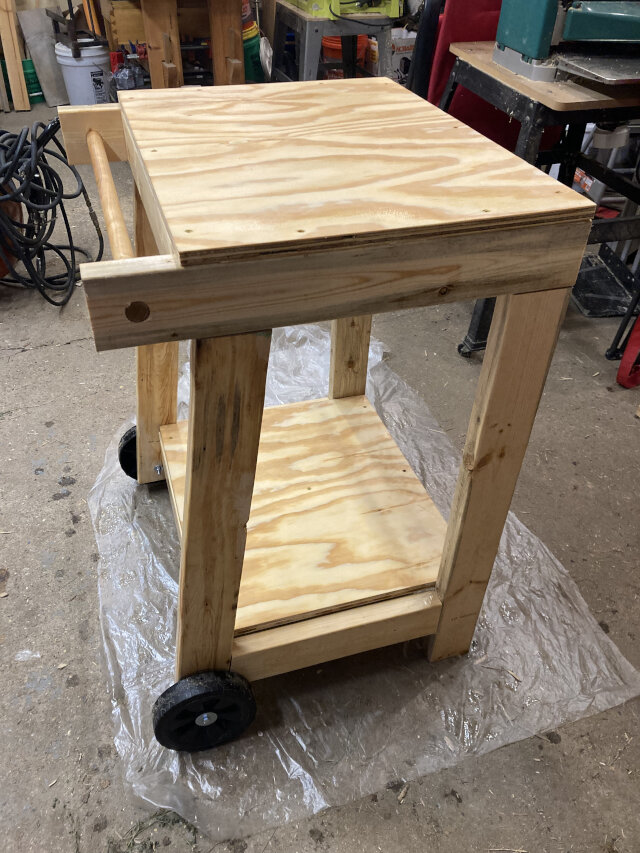
The best part of a DIY project is feeling good about your new creation. I was very pleased how it turned out.
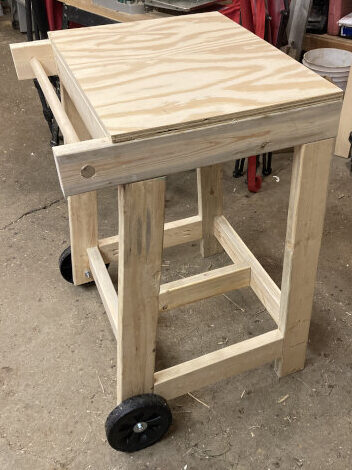
It looked so nice I dug through my mess and found a nearly empty can of Danish oil. There was a little left and I slathered it all on my new cart.
Now it has extra awesomeness.
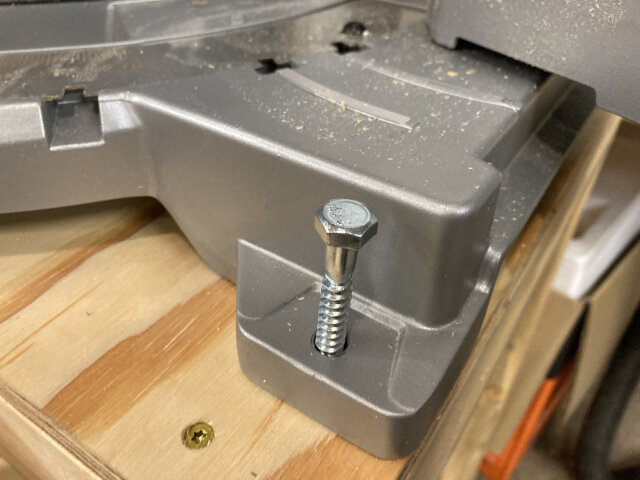
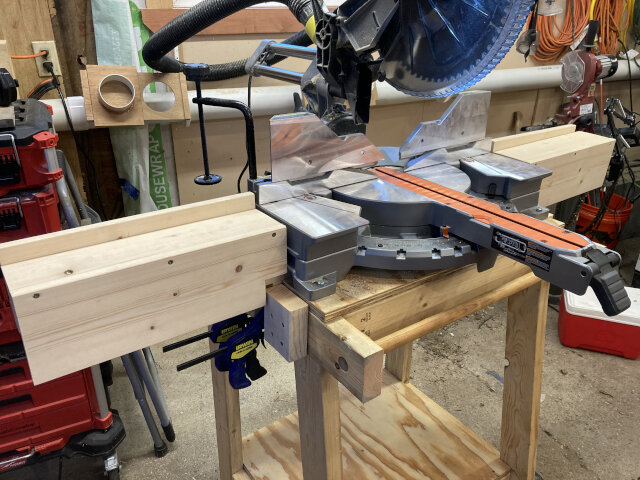
The saw I purchased is an absolute beast. The table design is probably for an “average” miter saw. Mine just barely fit.
I put extra 2″ x 4″ supports under the top to have better anchor points for the lag bolts. Once screwed down, Godzilla couldn’t pull the saw off the table.
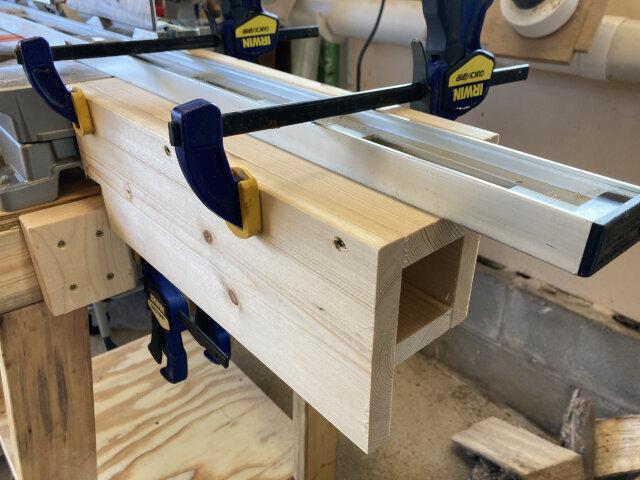
The next part was to use lengths of 1″ x 4″ and 1″ x 6″ to make “wings”. These support boards at the exact right height and position when you cut. The wings are removable, just clamp them on when you need them. Unfortunately I only have so many clamps. I guess I’ll buy some more.
The wings were fiddly and annoying, but also good practice for using the new saw.

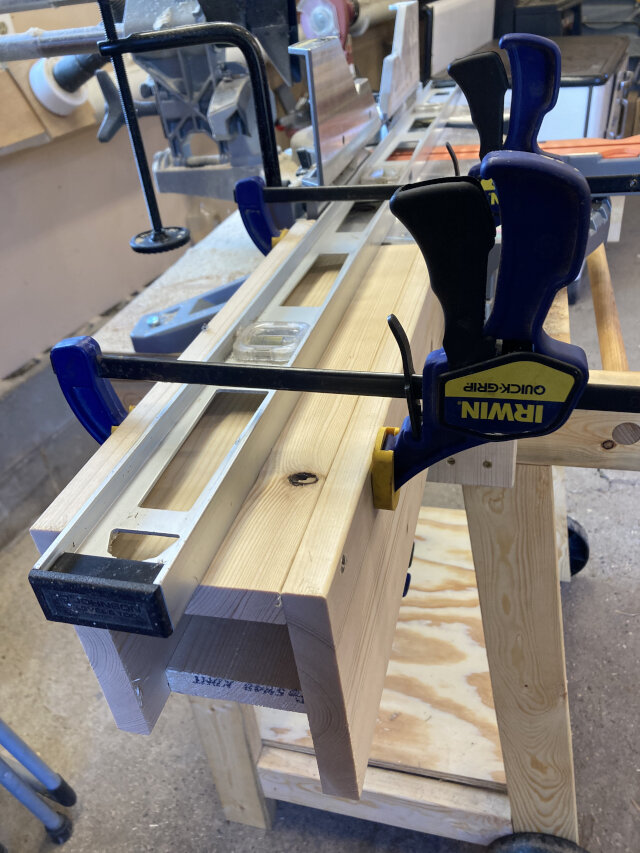
I spent a lot of time fretting over millimeters. I used my 4′ level as a straight edge.
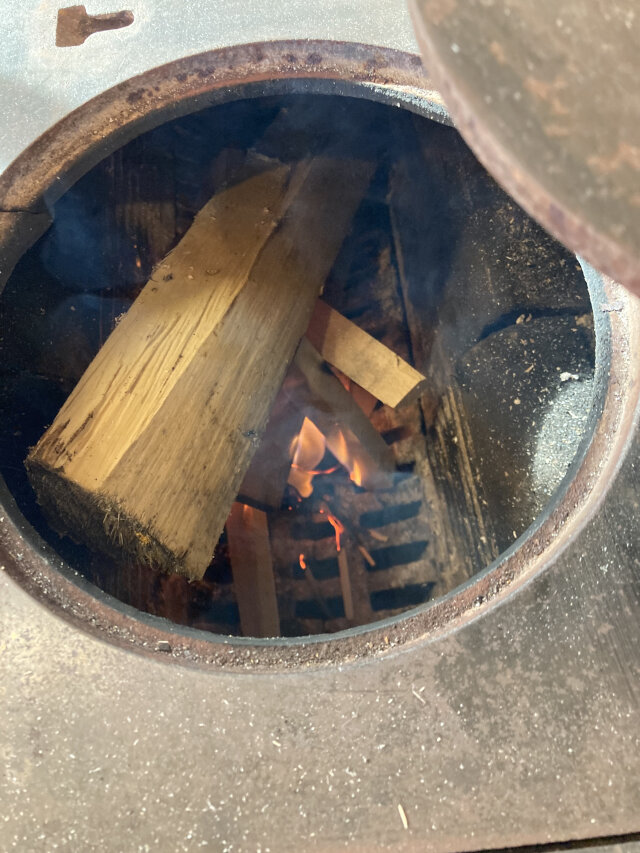
I’m not gonna’ lie. One piece had just enough warp to piss me off; so I recycled it.
I did the right side first. By the time I got to the left side, things made a lot more sense. The second “wing” came together much better.
When all is said and done, I have a table that looks like it’s owned by a real woodworker. I think I’m doing OK on the “fake it until you make it” learning track.
Well that’s about it. Happy workshopping.
A.C.
P.S. In case you’re wondering, I probably spent about $140 for the table. And I now have a pocket jig too. I think it’s worth it because I value what I learned. If you’re in a hurry just drop twice want I spend and it’ll be done in an hour instead of a few afternoons.
P.S. My saw’s dust collector is a lame little baggie. Very uncool. I have a homemade dust collection system in my shop (made it many years ago). The hose from my dust collector (repurposed vacuum hose) doesn’t fit the saw. In the old days I was perpetually trying to tape hoses to fittings with Gorilla tape or sketchy adhesives. Now I’m a big bad 3d printing nerd, so I whipped up a “saw to suction hose” adapter. It a few hours to figure out the precise dimensions. After that it was an easy one piece print. (I think I could make a tougher, better adapter but I wanted to see how and where the first prototype broke. Right now it feels like the “prototype” might last forever. I used TPU for AMS filament so it’s flexible but not too flexible. YMMV.) Neither the new miter saws nor the old radial arm saw is great for sawdust management in general. It’s just a function of the tool’s design.
I repurposed/recycled a barbecue grill stand to make my miter saw stand.
When do you plan to get a 3D metal printer:
https://www.3dsourced.com/3d-printers/metal-3d-printer-buyers-guide/
so you can do REAL 3D printing?
Not until I win the lottery.
Well done AC – that looks amazing ! I bought a heavy-duty aluminum & steel DeWalt stand for my Makita compound mitre saw because the stand was on special. I have to keep my mitre saw in storage and pull it out when I’m ready to do a job, and the metal stand works really well. I wish I could leave it assembled ready to go, but my garage is also my workshop. Blessed are the carpenters.
Best Wishes,
KA