The sawhorse design I picked has legs that end like any normal 2″x4″; rectangular. The sawhorse’s legs are at an angle. That means the rectangular end interfaces with the ground as if it were a point rather than a wide flat surface. I never gave it much thought.
The video suggested a point is better for “digging in” to soft surfaces like dirt (for when you use your sawhorse outdoors). I’ve been using a them on my shop’s floor (cement) and outside (dirt). I didn’t notice anything good or bad about the leg’s “untrimmed” end on any surface.
A couple folks mentioned they’d like to trim the leg. They want an angled cut so the leg’s end is parallel with the floor. Who am I to complain?
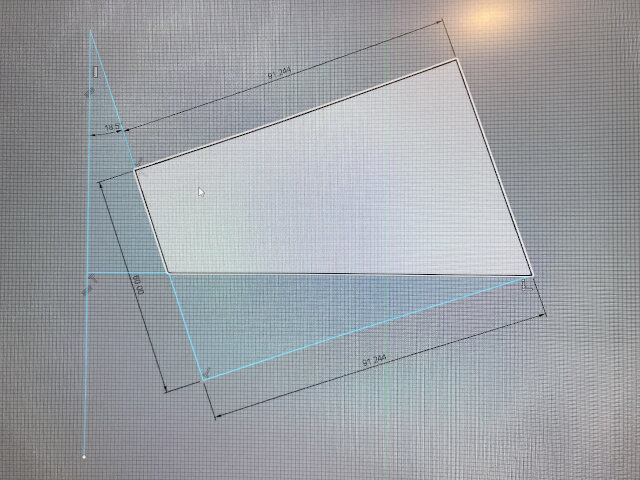
I noodled around in Fusion 360, dredged up long forgotten high school geometry, and printed out a jig that does the job. Trace it on the leg (all four) and follow the line to cut the leg’s end. Now it matches the ground.
I had to make a name for the file so I called it “fancy foot”. If you’d like a jig to trim your sawhorse’s feet parallel to the ground, “fancy foot” is precisely what you wanted.
I added “fancy foot jig” to the world’s crudest order form at https://adaptivecurmudgeon.com/sawhorses/.
“Fancy foot” is entirely optional. You can make a rockin’ sawhorse without “fancy feet”. Or you can add “fancy feet” and enjoy the added awesomeness. It’s up to you.
It’s pretty simple so I’m only asking $3.
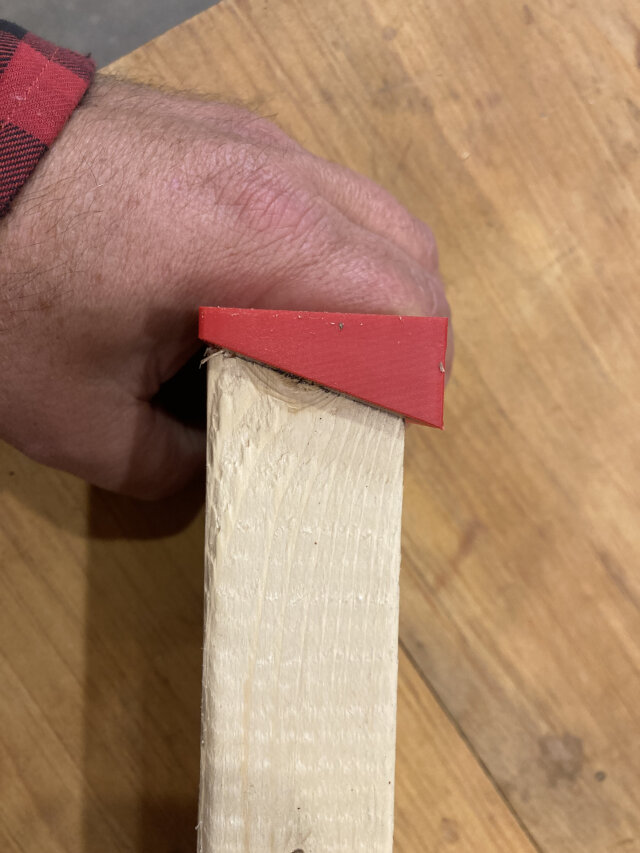
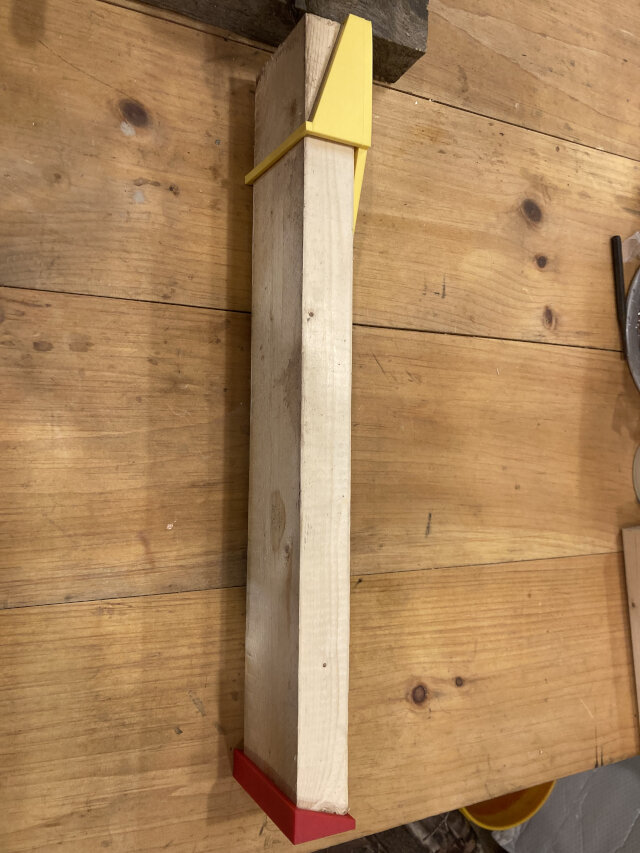
Pics or it didn’t happen so here goes. Hold the fancy foot jig on the bottom of the leg like so.
Trace a line.
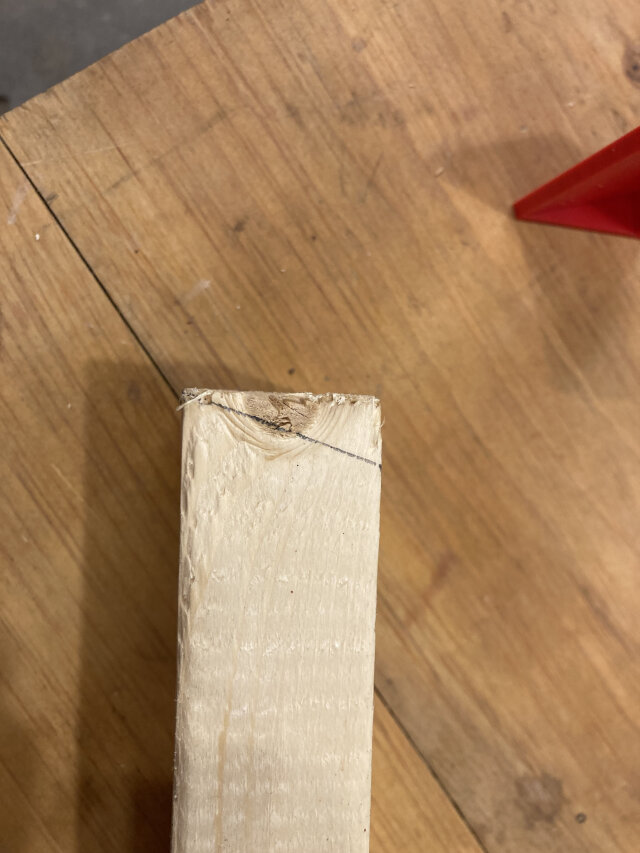
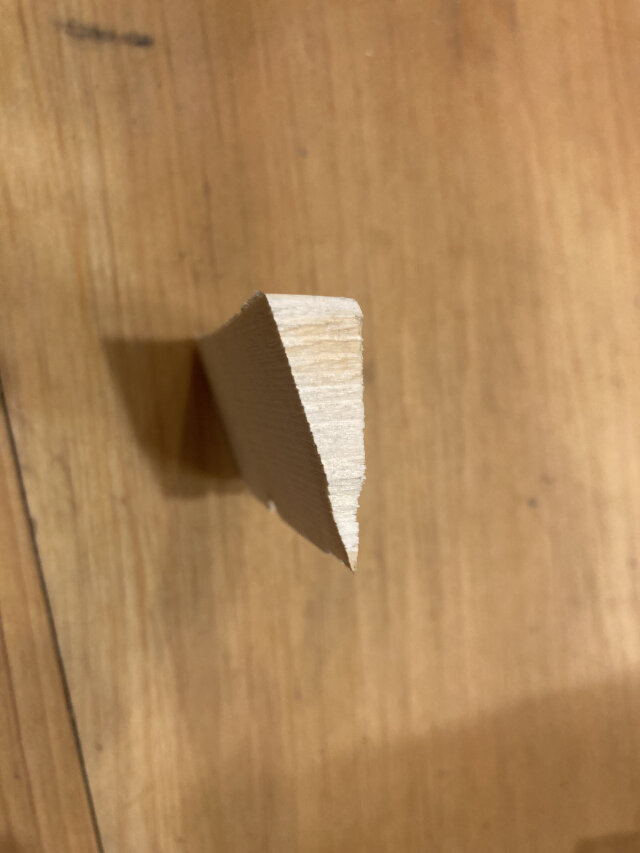
Cut on the line and now your sawhorse’s feet are flat to the floor. I used a square and some scraps to test all the angles. It works flawlessly. (Note this is scrap for testing. The leg is unusually short in this image.)
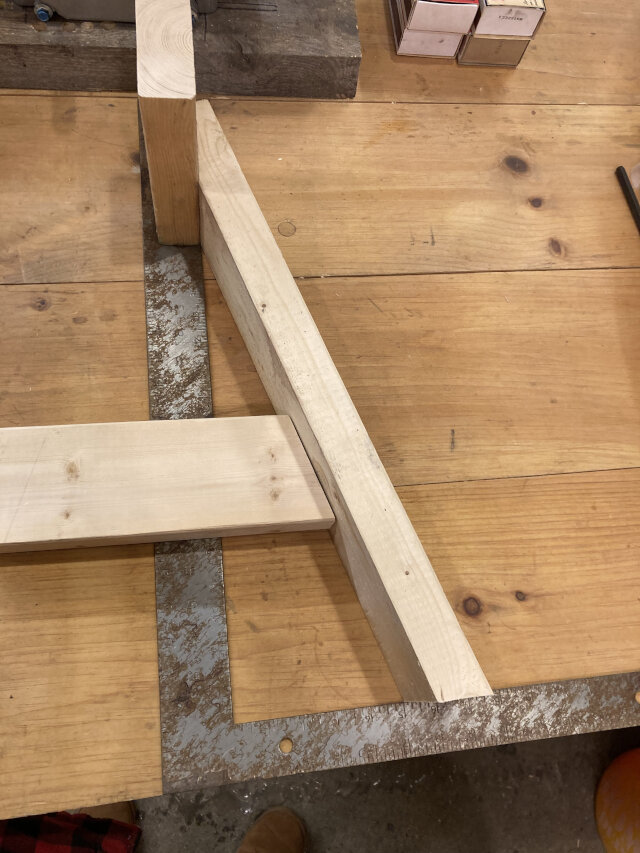
Here’s how the “build the whole sawhorse” jig and the “fancy foot jig” would fit on the same leg. (Note, the leg is unusually short, it’s just scrap I used for testing.)
Improving the sawhorse produces almost no waste; which is awesome because I’m a cheap guy. A “fancy foot” sawhorse and a “default” sawhorse both use the exact same input wood.
I want to formally apologize to my high school math teachers. I whined “when am I ever gonna’ use this”. Yet, just now I was flipping angles precisely like I was taught. If my teacher had said “many decades from now you’ll use geometry to fine tune computer models that create 3d printed jigs to fine tune homebuilt sawhorses” that would have been real helpful. On the other hand, no sane person would have guessed it.
Isn’t the fancy foot angle the same as the angle to cut the ends of the horizontal cross member? Should be able to use the original jig and a tape measure to make that mark.
Probably easier if the foot jig caps on the end of the board though.
BC
By Jove I think you’re right! However the fancy foot jig I made is an “end cap” and super easy to use. To use the main jig you might need to “extend” the 32” leg to have room for the side mounted jig to align. That would be simple with just a scrap of 2”x4”.
It looks like you’re having fun with your sawhorses..
30 second saw horse https://www.facebook.com/reel/1012951454197308
Your jig goes on the end for the top of the leg cut. If you turn it ninety degrees (hold it against the flat side) it’ll give you the correct angle I bet. And I’ll bet you a dollar to a stale donut that it’ll still be off because of (take your pick): imperfect lumber, off level floor/ground surface, manufacturing error (the dude can’t cut a straight line).
But I must tell you, I am thoroughly impressed with your 3D printing saga. So much so that I am seriously considering getting my laptop fixed and buying one. I had no idea that they were so flexible, useful and affordable. You’re making me reconsider my default position of Luddite.
180° – X = Y
The original jig already has the measurement in it. An adjustable bevel gauge does all this too. Nevertheless, just sell the jig/s.
Clip-on mag doublers might be a good next project. Work in a stripper clip and/or loose round guide. Can one print that polymer around metal reinforcing?
Stefan v.