I mentioned here that I was messing around building sawhorses. I didn’t reinvent the wheel, I watched a YouTube video.
I got to use my new miter saw. First to cut everything to length (it takes three 8′ studs).
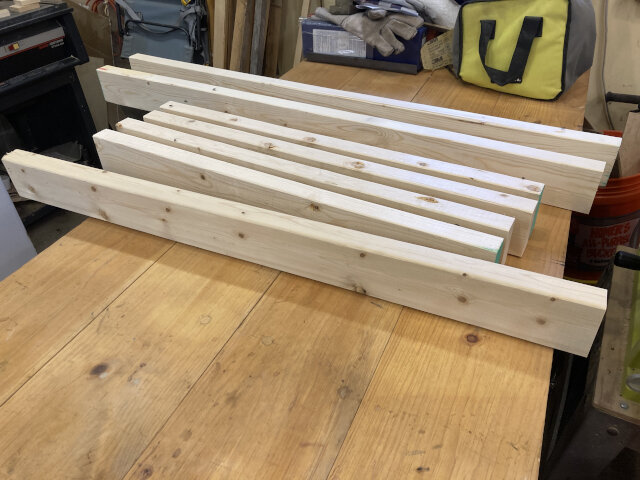

Then I set the miter at angles to cut the leg spreaders.
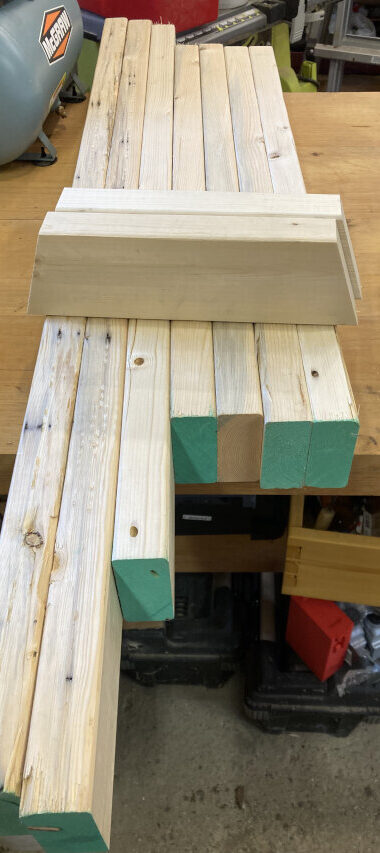

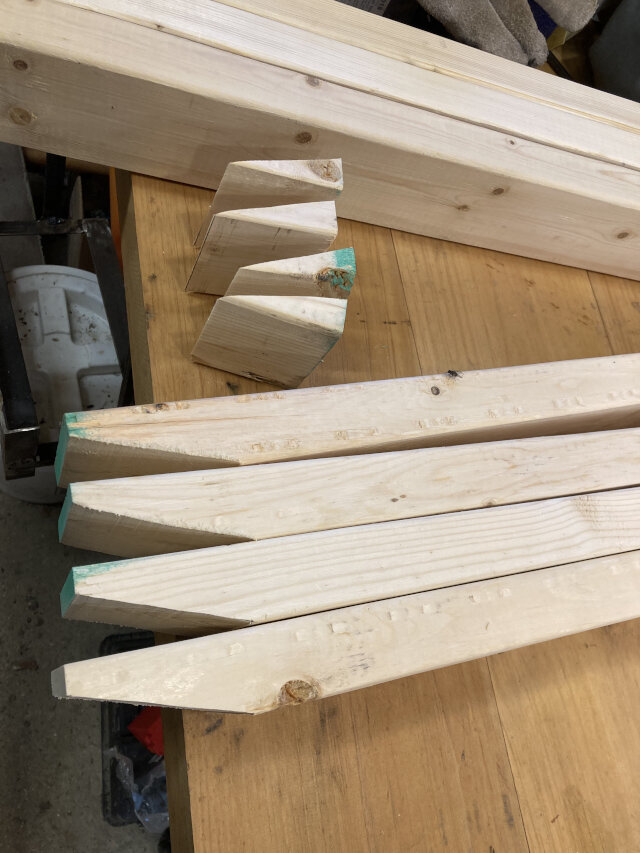
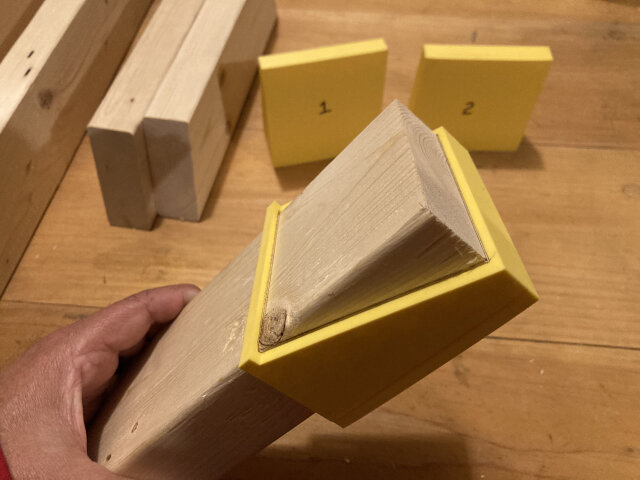
Then I marked the “wedge” to remove from each leg (obviously there are four). This wasn’t something I could just dial into the miter saw.
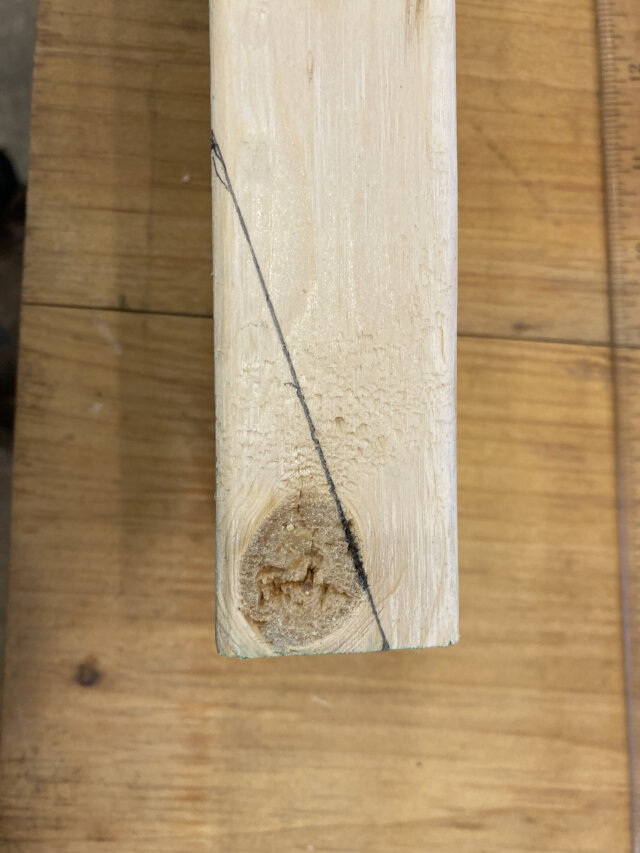

It was a bit of a PITA marking the wedge. I started making a 3d printed “jig”. You can see 3 different hastily designed “prototypes” in the background.
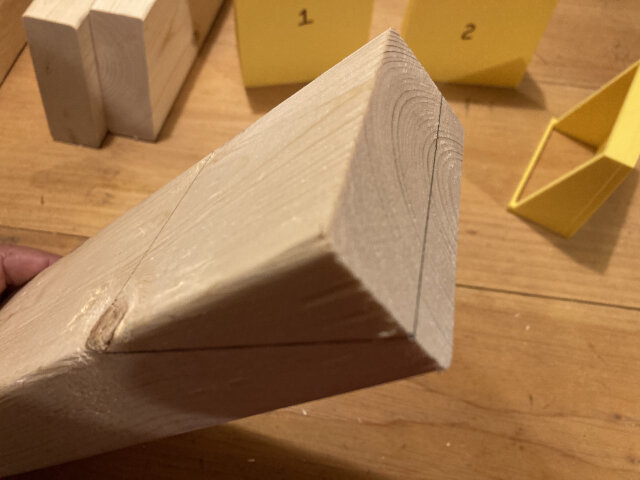
My old bandsaw with it’s fresh new blade was perfect for cutting the “wedge” on each leg. There’s hardly any waste; just a few wedges (which wound up burned in Betsy).
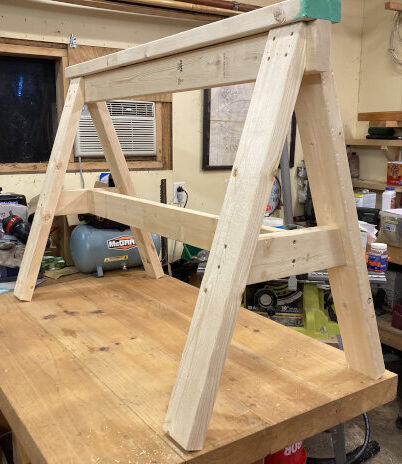
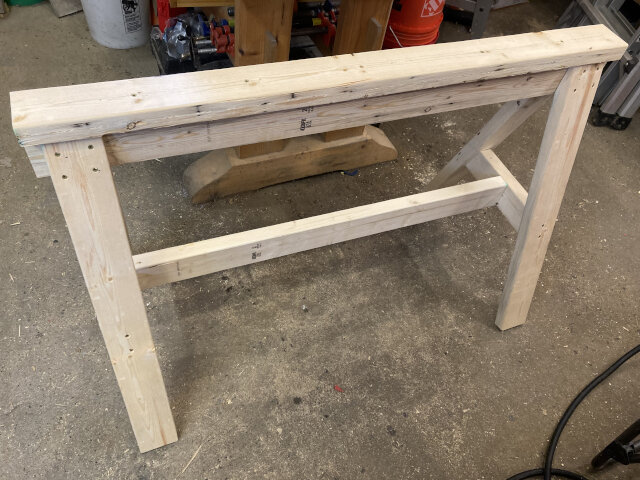
Following the video’s sound advice I put it together with a few tacks from the nailgun before I screwed it down tight with Torx screws. I drilled a pilot hole for every Torx screw I planned to use. Pilot holes is probably overkill but it worked for me.
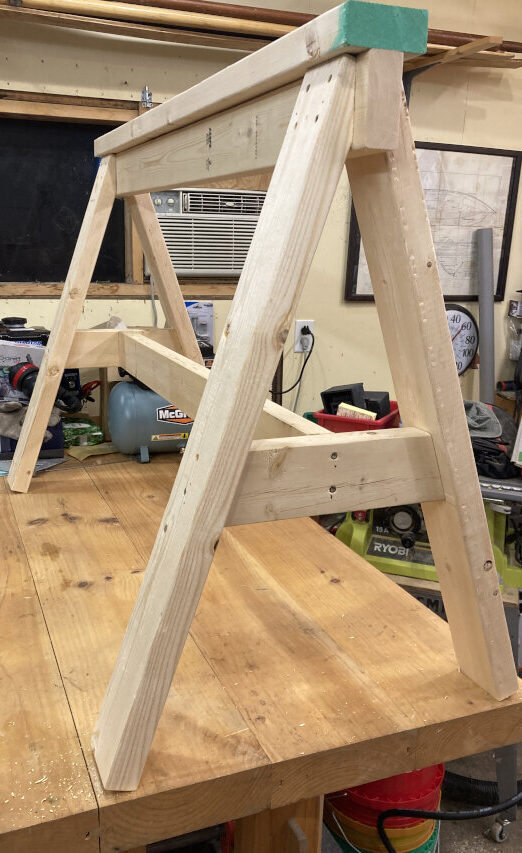
In fact I think it’s a pretty handsome sawhorse.


I found measuring out the wedge to be a PITA, so I created a “jig” on my 3d printer. Now all I have to do is trace the jig.
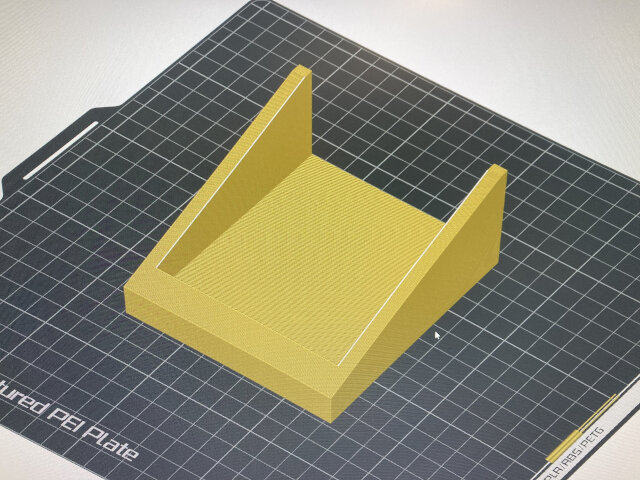
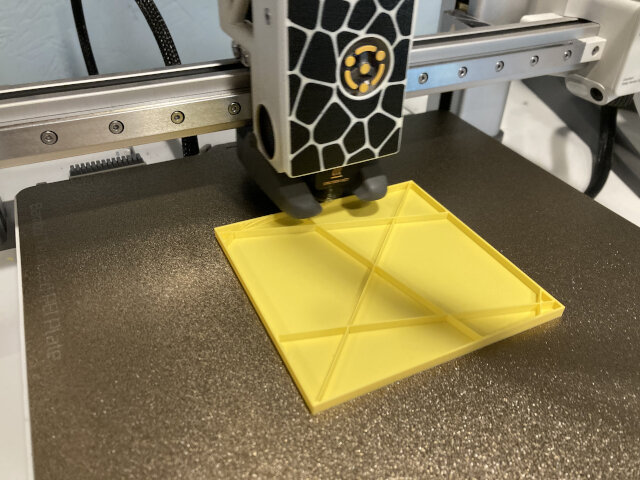
Since it was just a “test” object, I experimented with the world’s sparsest infill. (I don’t recommend that much “void” in any object, it was pretty flimsy.)
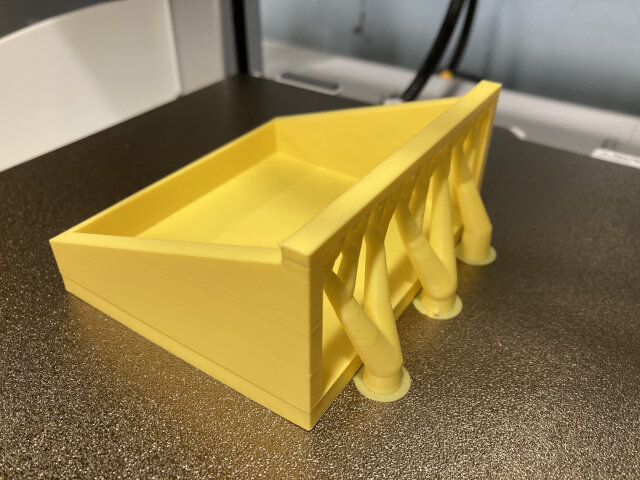
After some testing I realized I needed a “top bar” to trace a line on the top (wider dimension) of the “leg”. Things always cascade so now I needed supports.
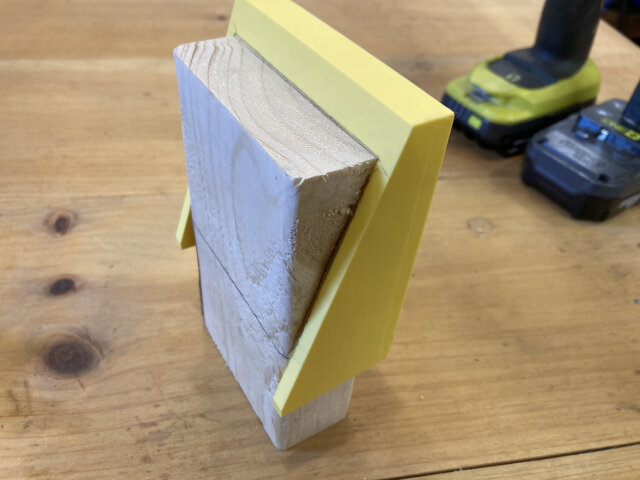
It works exactly as planned.
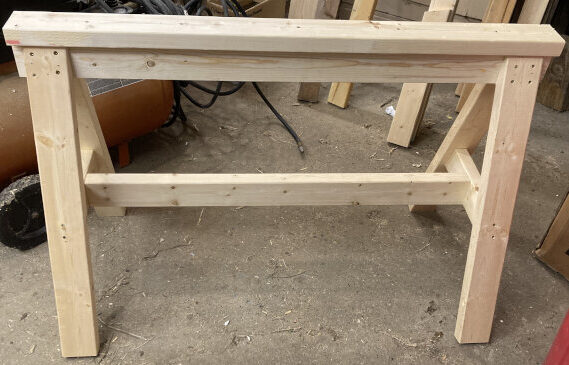
I tested my silly little jig by making a second sawhorse. Works great.
I had far too much fun making the jig. Pretty soon I was going down the rabbit hole with ideas. I’d improved it (?) way beyond a simple jig. I’ll probably show that in a future post.